Showing posts with label tutorials. Show all posts

Thursday, May 28, 2015

Tinsel Art Yarn: Getting the Babe Tutorial Ready!

I had a backlog of things I needed to get done since I recovered from the holidays (and I'm here in Korea again with my Babe wheel), but now I've started working on 'What to do with leftover Christmas Tinsel?' which I talked about in this video:


My container of random bits of wool and silk and yarn (which I used to make pottage batts) was majorly overflowing, so I grabbed my hackle and threw on a bunch of interesting things. These rovings have merino wool, cormo/mohair/cotswold locks, silk, tencel, angelina, firestar, silk ribbons, yarn scraps, and, of course, tinsel. I have a diz (the tool used to remove fiber from tools like a hackle, and it produces a short roving), but it didn't have a large enough hole for all of this texture. To remove the fiber, I grabbed a small bit of fiber in my hand, gave it a half turn, then pulled a little. Short twist, then pulled. A long, fat, artsy roving about four feet long was the result. I did that twice to get two different rovings. Here's how they turned out:


The pink one had more shorter fibers than the blue one, so I pulled off the short fibers, placed them on the hackle again, then drafted them out into a lumpy roving:


As part of the tutorial, I will be showing you how to spin the pink one (my favorite) in real time, but I will also show you how I spun the blue one in time lapse. I've been thinking of adding time lapse videos to my tutorial series to show you more examples of how to spin various kinds of yarn (and for further examples of carding or blending or whatever else seems appropriate). The demonstrations I do are great, but I know that some of you just want to watch the process for longer. I think this is a good trade-off: I can give you the extra content you need without making you sit and watch a thirty minute video of me rambling while I spin. :)

I already filmed the first yarn, and I will be filming the second yarn on Monday. Here's a sneak peek at how the blue yarn turned out!:


I used the plying thread which had sequins already spun into the thread. Here's a better picture of my plying thread here.


I was a little concerned at first that the tinsel would feel scratchy against my neck, since it is designed to be haphazardly thrown over a tree, but it's actually quite soft. It reminds me of angelina fibers, which are designed to be soft and pliable.

I haven't completely committed to this idea yet, but I kind of want to use this yarn for a future weaving project. It'll provide a ton of interesting texture. Or, and this is why I'm not completely committed to the weaving idea yet, I might knit it as fringe on the end of another large shawl I want to make. I love how the striped Cora shawl turned out, and I like how the heaviness on the bottom stretched the stitches slightly so it looked more lacy, yet substantial. Here's the one I'm talking about:


If you would like to add in specific requests for this Babe art yarn tutorial, be sure to let me know in the next day or two so I can get it included in the video!

Thursday, May 7, 2015

Knitting the Free Yuna Shrug: Companion Videos

I have finished making the videos for the Yuna Shrug companion tutorial series, which closes out this incredible project. It was wonderful working through this project with you guys, and I'm happy to do this kind of project again in the future (though, probably with shortcuts since you don't need to see the exact same thing twice, right?). So, let's start at the beginning! The pattern. The yarn:


I got the pattern started and worked it until I got to the first set of cables, then I made this video:


Here is the closeup of the first cable after I knitted a few more rows:


Then I posted a video about how I make the central 4x4 cable so it lays a little flatter:


Here is the closeup of the central cable after I finished knitting a few more rows. You can see how it is similar to the flanking cables:


This is how the Yuna Shrug looks when you have bound off. It is stretchy and looks a bit small. Washing will help the stitches relax and lay flatter--remember that this pattern doesn't require blocking:


Here's the 2x2 ribbing on the backside of the shrug:


Here is the shrug after it has been washed and dried:


You can really see how the central cable lays flatter in this photo. It's an extra detail, but given that it's an easy trick to get the cables to look similar, it's worth changing how you make cables so that they all look the same. When I make a typical cable, I keep those stitches quite tight so they really pop out of the fabric.


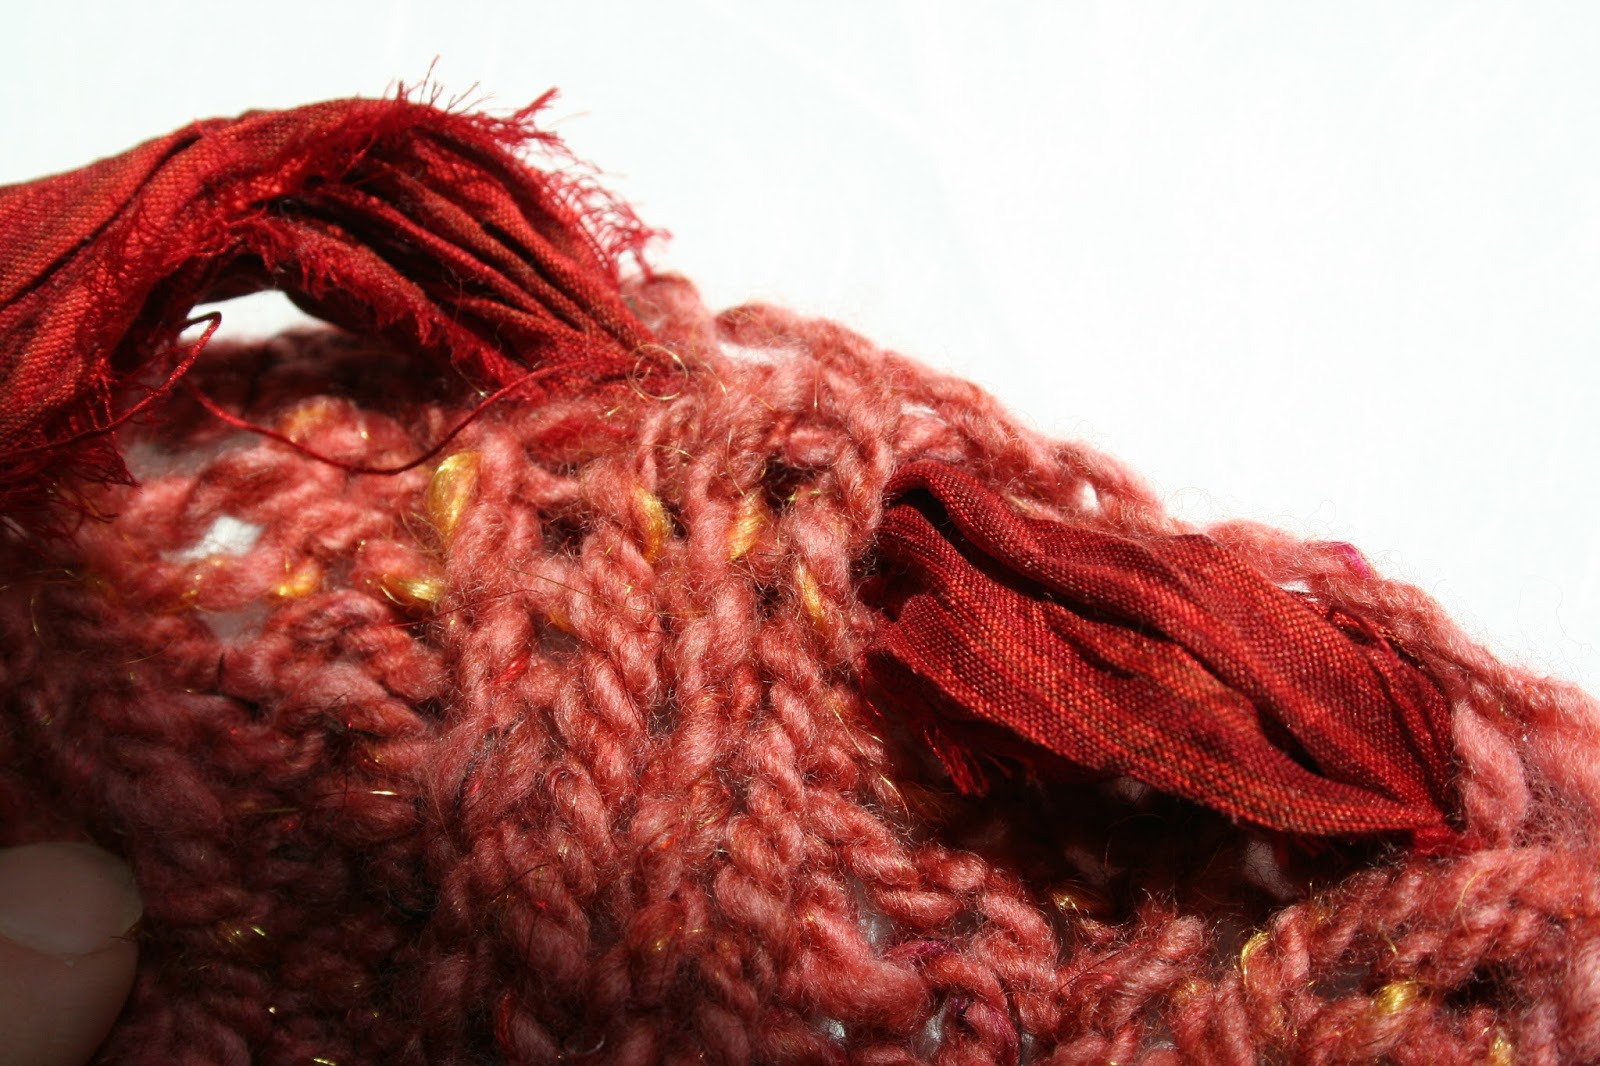
In the last video, I show you how I wove the silk ribbon into the bind off edge. It's optional, but pretty and can serve a function for this one-size-fits-most project:


To weave in the silk ribbon, find the side which is the least stretchy (for me, this is the bind off edge). You'll be weaving the silk between the bind off edge and the row just before that. I started by going into the fabric just before a set of k2 (to wit, insert the ribbon in the last purl before the k2 section):


Place the ribbon in the hole and pull it through to the back side of the shrug:


Then you'll pop out again through the end of the knit section, just before the purls:


Thread the silk ribbon through again:


Ta-da! Just keep doing that until you're all done:


Here's how the Yuna Shrug looks after the silk ribbon has been woven into the bind off edge:


I had about 40 or so yards left over when I was all done, so there was plenty to do a swatch if you like doing that. I think there's enough for me to use it as warp in a new weaving project. :)


Wash your Yuna Shrug again if you'd like, or simply throw it over your head and wear it! I will be altering the pattern to reflect the community additions. Feel free to mix and match ribbing styles to suit your personal tastes too. Don't forget to share your Yuna project with the Ravelry thread! 

Monday, April 20, 2015

Photo Tutorial: Upcycling a Cashmere Sweater into a Tote

I really like the idea of upcycling old clothes and fabrics and turning them into awesome accessories and concept designs. When you rework small pieces of fabric, inevitably you create something unique and custom. One of my goals with a project like this is to practice cutting up old clothes confidently--it's about learning how to see past the shapes or construction of another garment and imagining how it could look with some tweaking. 

So, this will be a photo tutorial in a light sense, meaning that I won't be showing you exactly how to do this. Rather, I'll be showing you how I did the whole process so you can get an idea of how to do this yourself. I began with an old turtle neck cashmere sweater:


Some tools you'll find useful:
  • Sharp scissors or a rotary cutter
  • Pins
  • Self-healing cutting mat
  • Ruler and French curve
  • Sewing machine
First, I cut off the sleeves. I kept these aside and later turned them into arm warmers.


Sometimes it's good to pin things occasionally with a project of this nature. Cashmere isn't slippery, but I wanted neat, even edges. I started by pinning the bottom together:


Then I folded the sweater in half and pinned it together. The ruler is there for me to make a mark where the handles will eventually be formed. I made this point even with the bottom curve of the sleeve:


I just adjusted the French curve over and over until I got the curve I wanted. You may want to draw part of the curve, adjust, draw some more, to get the kind of curve you want. For my sweater, I had plenty of extra fabric at the top so I could make my curve in one go...but it'll depend on your starting piece:


This is how it looked when you open it up. This is the front of the sweater:


To make sure all of the curves are equal, I cut open the top of the sweater where the shoulder is. I pinned the armpit part of the sleeves on top of each other:


The central seam in this photo is actually the side seam:


Once pinned, fold it in half so that you can even up all of the curves. For a really thick sweater, this won't work. You may need to make a template.


See how uneven they are?:


Here are the edges all trimmed up:


Trim up the former shoulder of the sweater:


I am preparing to sew the sweater by pinning the bottom of the sweater closed. I tested some stitches on spare sweater fabric. This is important for testing sewing tension:


Baste!


I went for an overlapped strap with top stitching (like you see on jeans), but you could choose any other seaming method you desire. I connected the front shoulder pieces together to form the handle and the back shoulder pieces together to form the other handle. This allows the tote to be opened completely without the handles getting in the way:


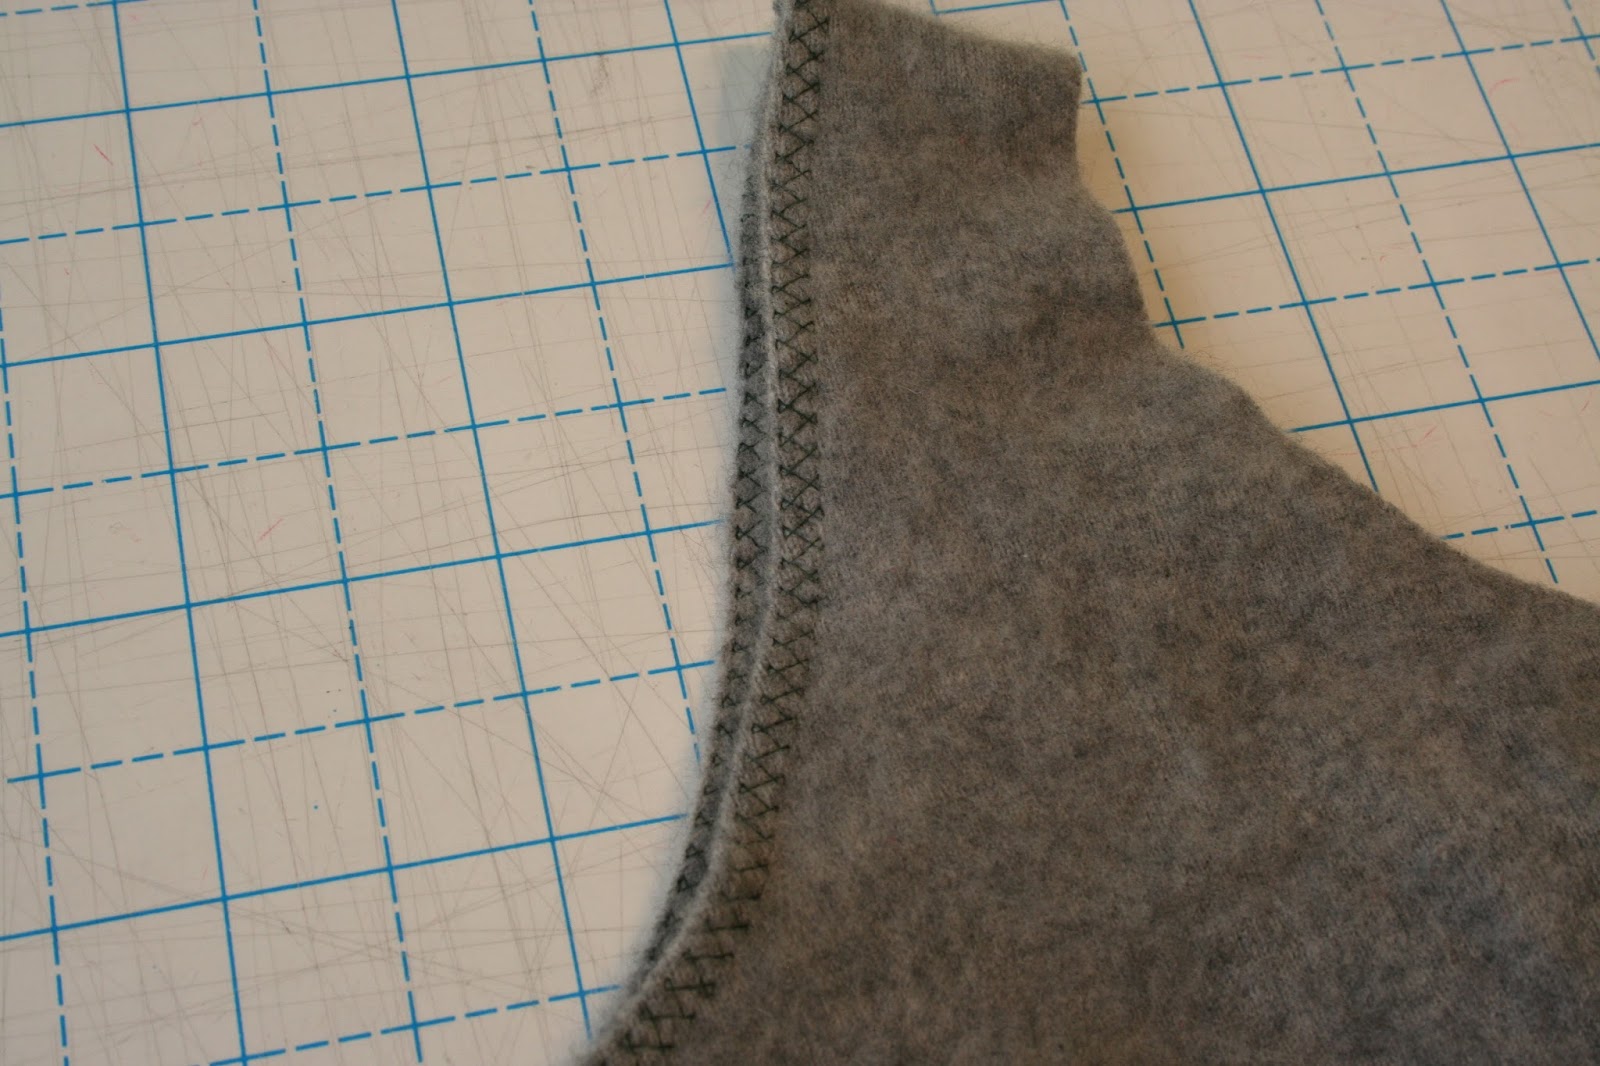
I chose a cool celtic stitch pattern in green because I wanted it to stand out a bit:


Then I curled the seam under and seamed the edges:


When you're done seaming, clean up the inside edges (if you want). I think it looks better trimmed up:


Now that all of the seaming is done, you have your tote! My sweater was a touch flimsy at first, so I felted it to give the tote more stability. Use the extra pieces to decorate, add pockets, etc. I will be back to show off the kinds of decoration I end up putting on my tote. For now, it'll hold my current knitting and spinning projects.


If you liked this photo tutorial, let me know and I will make more of them in the future! Let's stay crafty. :)