Spinning with wool is one of my greatest passions. Here, I'll share with you tips and tutorials to inspire you, as well as share the projects I'm currently working on.
I have finished making the videos for the Yuna Shrug companion tutorial series, which closes out this incredible project. It was wonderful working through this project with you guys, and I'm happy to do this kind of project again in the future (though, probably with shortcuts since you don't need to see the exact same thing twice, right?). So, let's start at the beginning! The pattern. The yarn:
I got the pattern started and worked it until I got to the first set of cables, then I made this video:
Here is the closeup of the first cable after I knitted a few more rows:
Then I posted a video about how I make the central 4x4 cable so it lays a little flatter:
Here is the closeup of the central cable after I finished knitting a few more rows. You can see how it is similar to the flanking cables:
This is how the Yuna Shrug looks when you have bound off. It is stretchy and looks a bit small. Washing will help the stitches relax and lay flatter--remember that this pattern doesn't require blocking:
Here's the 2x2 ribbing on the backside of the shrug:
Here is the shrug after it has been washed and dried:
You can really see how the central cable lays flatter in this photo. It's an extra detail, but given that it's an easy trick to get the cables to look similar, it's worth changing how you make cables so that they all look the same. When I make a typical cable, I keep those stitches quite tight so they really pop out of the fabric.
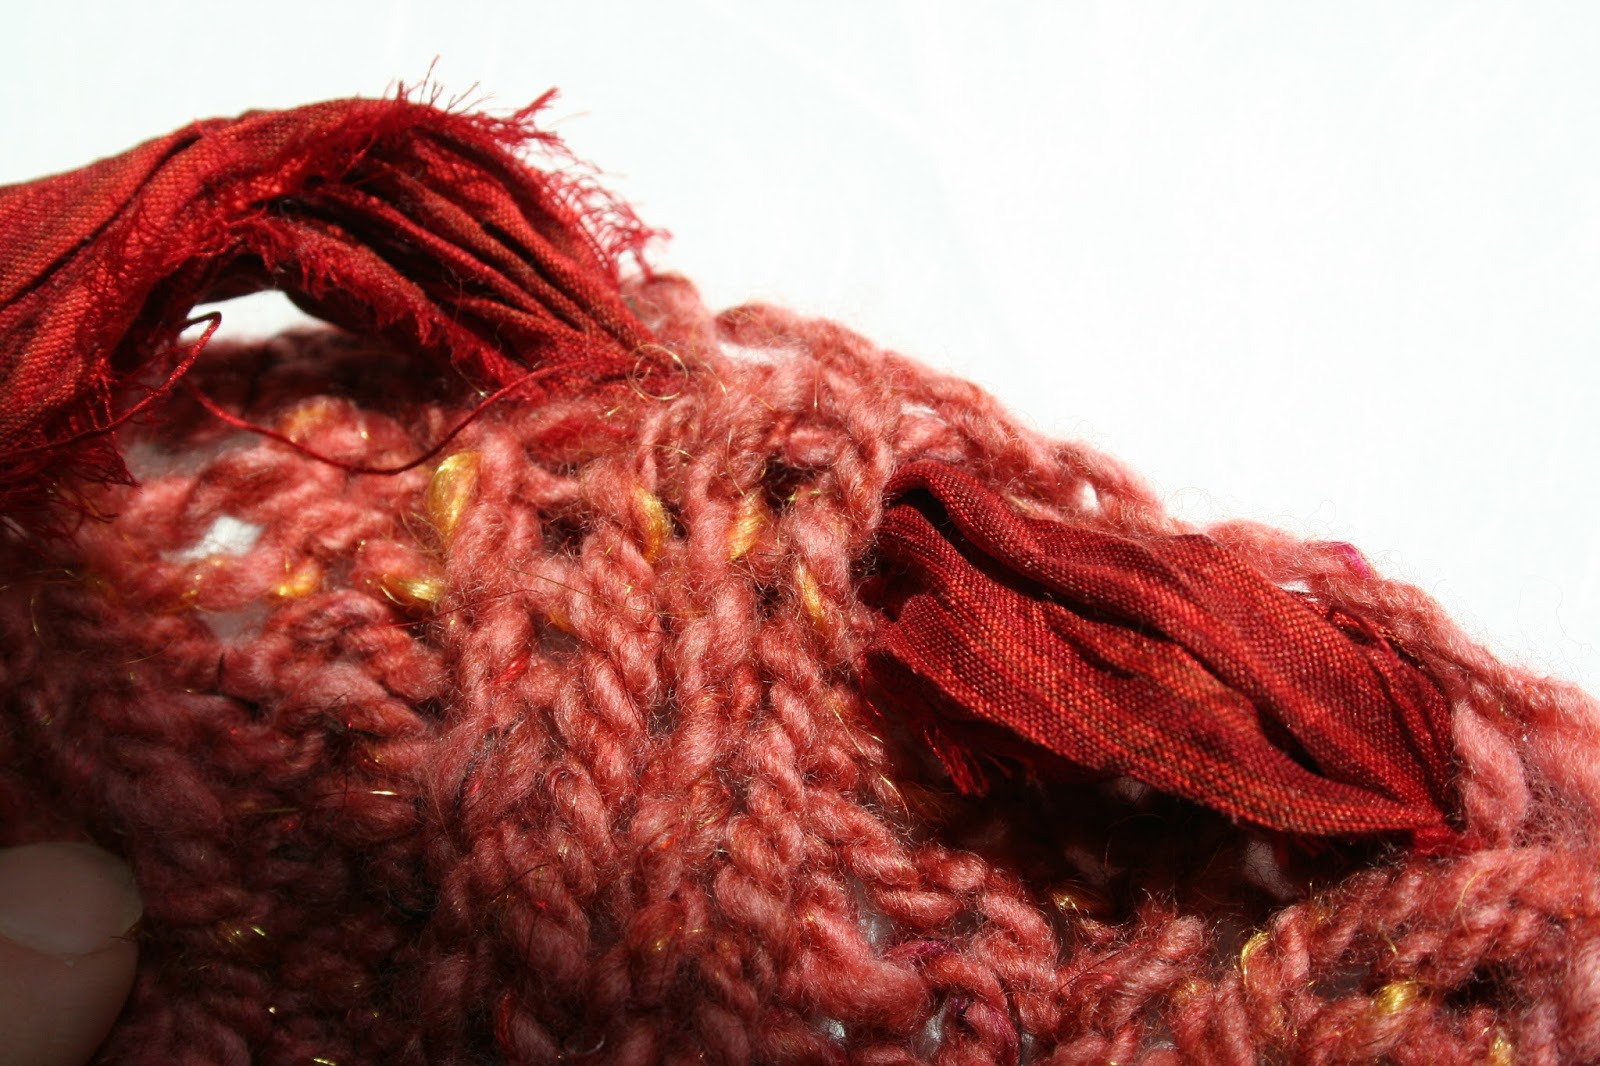
In the last video, I show you how I wove the silk ribbon into the bind off edge. It's optional, but pretty and can serve a function for this one-size-fits-most project:
To weave in the silk ribbon, find the side which is the least stretchy (for me, this is the bind off edge). You'll be weaving the silk between the bind off edge and the row just before that. I started by going into the fabric just before a set of k2 (to wit, insert the ribbon in the last purl before the k2 section):
Place the ribbon in the hole and pull it through to the back side of the shrug:
Then you'll pop out again through the end of the knit section, just before the purls:
Thread the silk ribbon through again:
Ta-da! Just keep doing that until you're all done:
Here's how the Yuna Shrug looks after the silk ribbon has been woven into the bind off edge:
I had about 40 or so yards left over when I was all done, so there was plenty to do a swatch if you like doing that. I think there's enough for me to use it as warp in a new weaving project. :)
Wash your Yuna Shrug again if you'd like, or simply throw it over your head and wear it! I will be altering the pattern to reflect the community additions. Feel free to mix and match ribbing styles to suit your personal tastes too. Don't forget to share your Yuna project with the Ravelry thread!
Your batts have probably been finished for a while, or maybe you spun it. I meant to post these photos last year in September and October, but I suppose I got wrapped up in other things! (I remember that I was weaving that epic table runner--which has to be fixed, by the way!). No matter how you decide to spin your batts, or whether you want to ply the singles, you should probably have around 200 yards of bulky weight yarn. This will be enough to swatch before you begin, if you want to, though gauge doesn't matter too much.
You can also use a different gauge of yarn, though it will alter a few things in the pattern. I'll show you how to do that in a later post (probably when the project is all done so I don't confuse people), but if you want a quick reference for how to size the pattern for a thicker or thinner yarn, check out my NEW Ravelry group (and join if you haven't already), specifically this thread.
Here's what I did to make this yarn:
I knew I wanted to make a 2-ply yarn, so I looked at the pattern which calls for a 6-8 WPI finished yarn. Merino poofs up slightly when it is washed, so I decided to spin a 16 WPI single for all of my batts. With the poofiness, I figured that my finished yarn would fall somewhere in the 6-8 WPI range.
I didn't want to smash any of the lumps and bumps in my yarn, so my singles look a little bumpy. They'll poof up when it is plied. Beginner yarn looks very similar, and it is with much practice that I have managed to make my yarns look like beginner ones again!
After it was spun, I took a sample to ply it on itself to check for balance, but also to make sure that when I plied it in the future, it would be plied correctly. If you're plying for the first time, don't worry if it is over or under plied when the yarn has been washed--you can always fix that by reattaching it to your spindle or wheel and either letting out some twist or adding in some extra twist. Rewash your yarn to check for balance.
I sat down and plied the yarns all in one go, and I got two full bobbins:
You can really see how the additions have created interesting visual contrast with the cranberry base I used. The little nubby bits from the merino also add some visual texture to this yarn. From a distance, this yarn will look mostly cranberry pink, but as you get closer, you'll see the little pops of yellow.
I also created a playlist over on YouTube for those following along with this project series. Check there for additional information about the spinning and plying phases. I can't really do upclose videos as well as I can do upclose photos.
And when you're all done plying (or just making the singles), you'll need to skein up the yarn and set the twist is warm soapy water. I will also post the two skeining videos below:
I know this is a lot at once, but I suspect that many of you following along with this project will either have made the yarn already, or you have some yarn in your stash! If not, you still have time to get some yarn whipped up. I'll be working on this project for the next few weeks, and I'll post regular progress on Ravelry. Let's do this Spin-Along/Knit-Along together!
I already did a vlog review of this pattern, but I thought I'd do a follow-up now that I've made the shrug from this pattern twice. If you missed the video, I'll post it below:
I washed the shrug and the yarn poofed up a little, so the pattern is slightly muddled until you put it on. You can see what I'm referring to in the video. The body helps stretch out the pattern, so I think I needed to use a larger needle or thinner yarn. I'm a tight knitter, and a consistent one, so I managed to get the right gauge but the pattern isn't as clear as it could have been. Oh well, the orange shrug is very warm and cuddly. :)
You can kind of see how the pattern looks somewhat obscured in these two photos (the one above and below). I think this is what might happen if I used a fluffy handspun, so if you plan to use handspun for this pattern, you should try to make a smooth, maybe even plied, yarn. Or you might change the needle size to be the next size up and make the knitting slightly tighter than it would be normally.
If you want to customize the look of this pattern further, I would recommend reducing or adding a pattern repeat in the wave pattern to accommodate your needs. This is especially useful if you want to knit this with an inflexible yarn, like pure silk or cotton.
If you dislike short sleeves, or want to remove the turn up cuff feature (the ribbing), you can make the sleeves 1 repeat longer (20 rows of the full pattern) and make the cuff half this length (or shorter!). Because there is no shaping involved, it's very easy to make these changes on the fly. If you want to make this a long sleeve, I would experiment with decreases along the edges first. Decreasing one stitch at the start of each row is a popular type of gradual decrease, though you should measure your arm to get the decreases in the right spot so the garment fits best. What I have done in the past is measured the circumference of my upper arm and wrist and calculated how many stitches I need to decrease from the upper arm to the wrist so that I get a fitted sleeve. For example, if I needed to decrease 42 stitches in a 21 inch sleeve, and there are 4 rows in an inch, I would decrease 1 stitch every other row. That will give you the perfect custom fit.
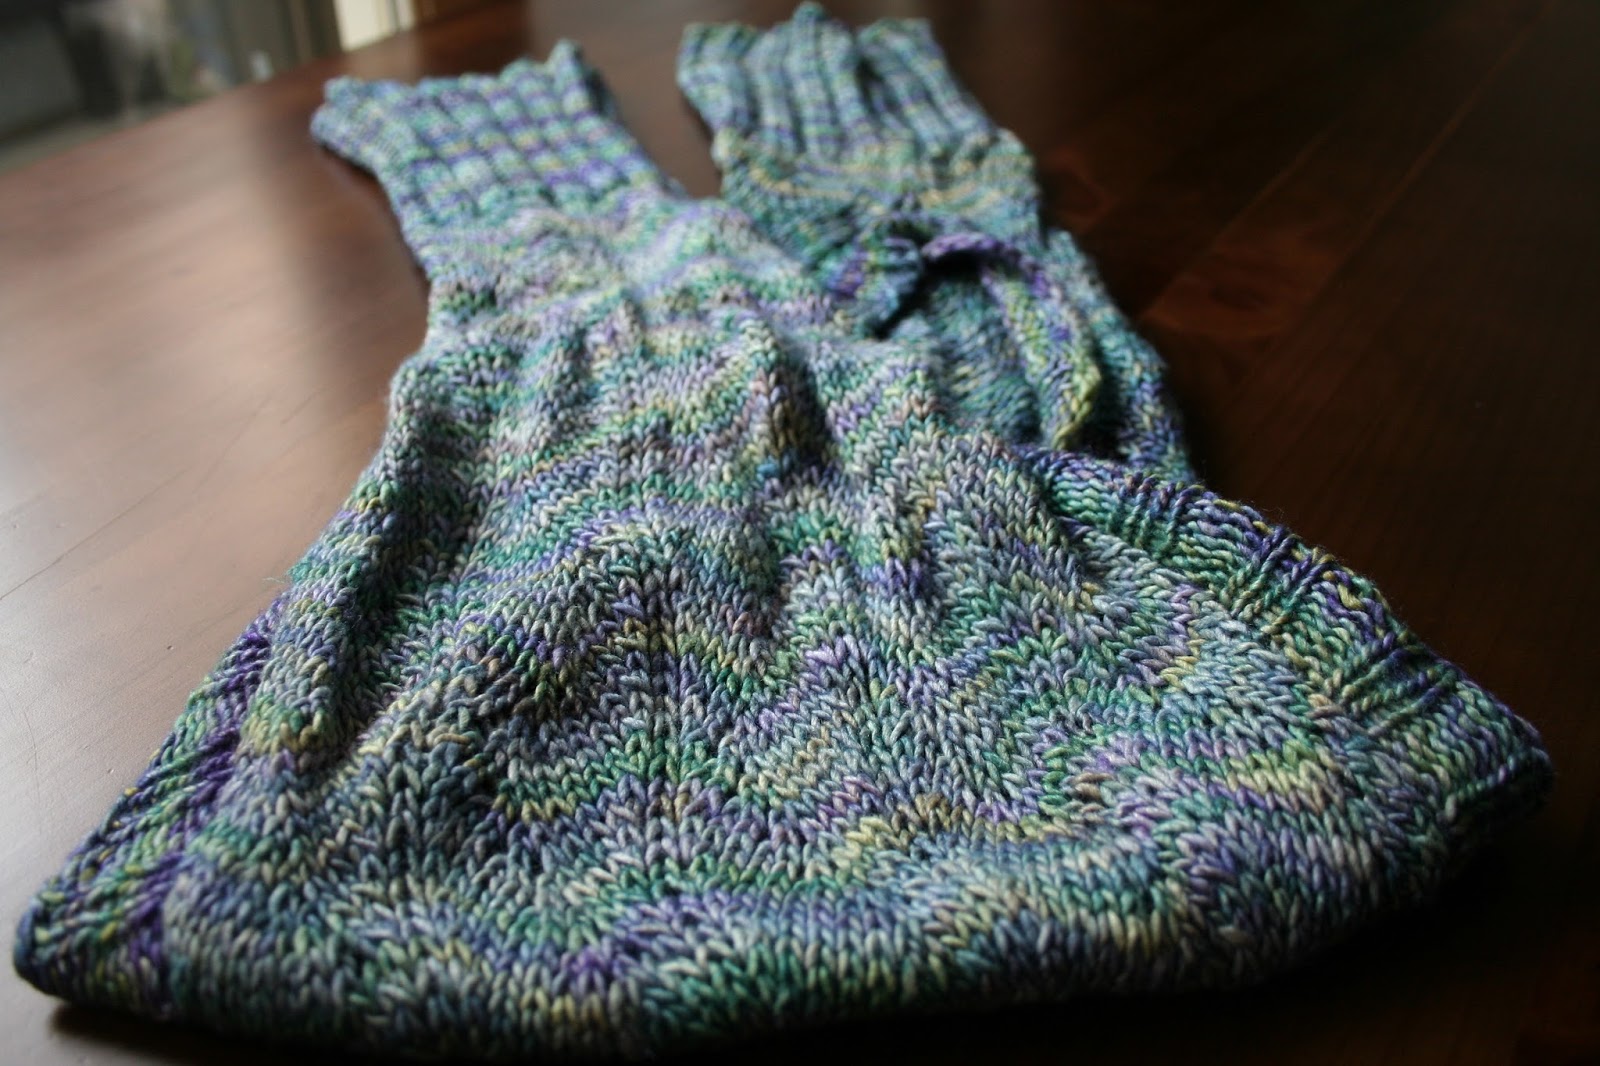
I decided to knit my next shrug with Malabrigo yarn (because it's decadent!), and chose the 50/50 silk/merino blend to make a luxury shrug. I was a little concerned about the silk content and how it might be too droopy in a shrug, so I used a smaller needle than it called for. I needed a size 8, but used a size 6 needle for this yarn. I wanted to make it slightly more fitted feeling than the wool version to counteract the inevitable drape of the silk, and the result turned out nicely. I attribute the nicer stitch definition to the yarn being thinner and unplied.
The only problem I had with this version was the yarn. Sometimes Malabrigo dye batches aren't consistent throughout the entire lot. I bought four skeins of the same dye lot, but three of the four had very different hues. One was very saturated with dark blues, one was saturated with yellows (two of the four skeins), and the third was a paler version of the first. As a dyer, I know that these things are possible. You need to be very accurate with how you apply the color to the yarn (or water) for consistent blending. I took notes on how I did this so my kettle dyed colors not only had the same hue, but also the same consistency in the kettle dyed patterns (that was so they would muddle together in the same way every time). But, I did what I could and used the darker blue for the cuffs and the paler version for the majority of the shrug.
Unfortunately, I didn't have a choice for the last bit of the pattern and had to switch to the yellow version for a few rows. It doesn't bother me too much, but I'm a little sad that it's noticeable. I could have circumvented this problem if I alternated rows with the different skeins, but...meh...I don't really care that much. I've worn this one a couple of times and no one has commented on the color issue.
The finished silk/merino shrug turned out to be about 3/4 the size of the orange shrug, which is a nice size for the yarn I used. Since it didn't fluff up as much as the pure wool, the pattern is a little more obvious. It's very sleek and luxurious, and I can't wait to pair it with a little blue dress. :)
I think the next time I make this pattern, I'll use some handspun for it. I'll whip up some light worsted weight plied yarn and 500 yards later, I'll cast on this pattern again. This will go a long way to helping me develop my own shrug pattern like this, since I'm not usually happy with most shrug patterns. What do you like in a a shrug pattern? Customizable options? Shaping? Cables? Yarn overs? Post in the comments below and I'll think of ways to incorporate them.
If you have been following along on YouTube, you'll know that we're ready to start spinning our beautifully carded fleece into a soft, 2-ply yarn. I wanted to take some glamour shots of the batts before I started spinning them for the continuation of the video series so I can illustrate some points.
As you can see, I top loaded the batt with the lovely add-ins (silk, angelina, sari silk, and icicle nylon). If you look through the Part 5 video again, you'll see me make a fiber/add-in sandwich before I removed the batt from the carder. This technique does a few things. First, it prevents the add-ins from simply sticking to the licker. It takes a bit more practice and experience to make this doesn't happen, making this stage a little easier for beginners.
It also makes the spinning process slightly easier. By being sandwiched with fiber, the add-ins are less likely to fall off the batt. Now, there are plenty of wonderful reasons to put the bling on the very top, but if you're still a beginner, the characteristics of the fiber will help you manage the bling on the batt a little better. Last, it'll subdue the impact of the bling slightly, which will be helpful when you're knitting with the yarn (ie, you won't have areas of intense color, which might overpower the cable pattern otherwise).
Here, you can see the very thin layer of fiber over the bling. It's subtle, but you can crank the throttle more or less if you want, and the more fiber you pack on the very top of the batt, the more subdued the add-ins will look in the final yarn. If in the end you didn't add enough bling for your taste, you can always hold your add-ins together with the batt while you're spinning. I use that trick a lot, and I can even do a video about that in the future if I get enough requests. :)
So, how do your batts look? Did you blend your fiber with other tools? Share your pictures and projects with us over on the Expertly Dyed fan page! <3
I hope these companion videos help you out while you're working on my patterns. I know I haven't made a companion video for my Yuna shrug yet, but I will. It'll be part of the fleece-to-shrug video series, so I'll be hitting two birds with one stone.
Originally posted on March 13, 2013:
And they're live! The videos, I mean. :) I'm sorry for laughing a bit too loud in video two--I forget that my mouth was right next to the mic. If you'd like to see how I "gently block" the sample, let me know on Facebook and I'll make a video about that.
If you didn't see the Cora Shawl pattern already, you can find it in this post.
If you decide to make any alterations to the pattern (which I encourage you to do!), please write down the notes and send them over to me. I want to make a companion pattern full of user submitted changes to make this pattern part of the Expertly Dyed community. All credit will be given back to the creator, and if you used a handspun or artisan dyed yarn, include that info too!
And as always, if you're having a problem and you can't figure it out, I'm always here to help. You can email me or post it on my FB wall. Share photos when you're finished too! I'd love to see them. :)
I can't remember exactly when I technically began this project, but I can tell you that it took me roughly 3ish months to finally get the yarn spun for this project. As many of you know, I'm usually a busy person, so getting 500+ yards of a 2-ply lace weight yarn finished in a timely manner isn't feasible. But it's done. You can read about my troubles getting the gauge correct here.
I had been dreaming of these socks for a while, basically since I first saw them in July 2013 while visiting the States. I usually tend to buy knitting magazines when I know that I'll make at least 10-15% of the projects. That brings the price per pattern into the 'reasonable' range. The Unofficial Harry Potter Knits magazine contained about 6-7 projects I really wanted to work on, which came down to about 40% of the patterns in the magazine. The Dragon Egg socks probably would have been my first project if I already had the right yarn and yardage. It turned out to be my second project from this magazine (the Gray Lady cloak being my first), but I'll talk about that other project later. I'm warming up to it.
First, I'll say that what really got me interested in these socks was the fact that they were unisex. I may look very girly, but I'm not super big into girly things like lace (let's not talk about the lace cloak). The pattern had texture and interesting combinations of stitch patterns, but they weren't overtly feminine--a good thing in a unisex sock! The stitches also seemed like they would hold up to my kind of wear and tear. The directions were easy to follow, the stitches themselves weren't anything new, and it seemed like this was a great pattern to use to break away from the standard stockinette stitch or ribbed socks. And I was right.
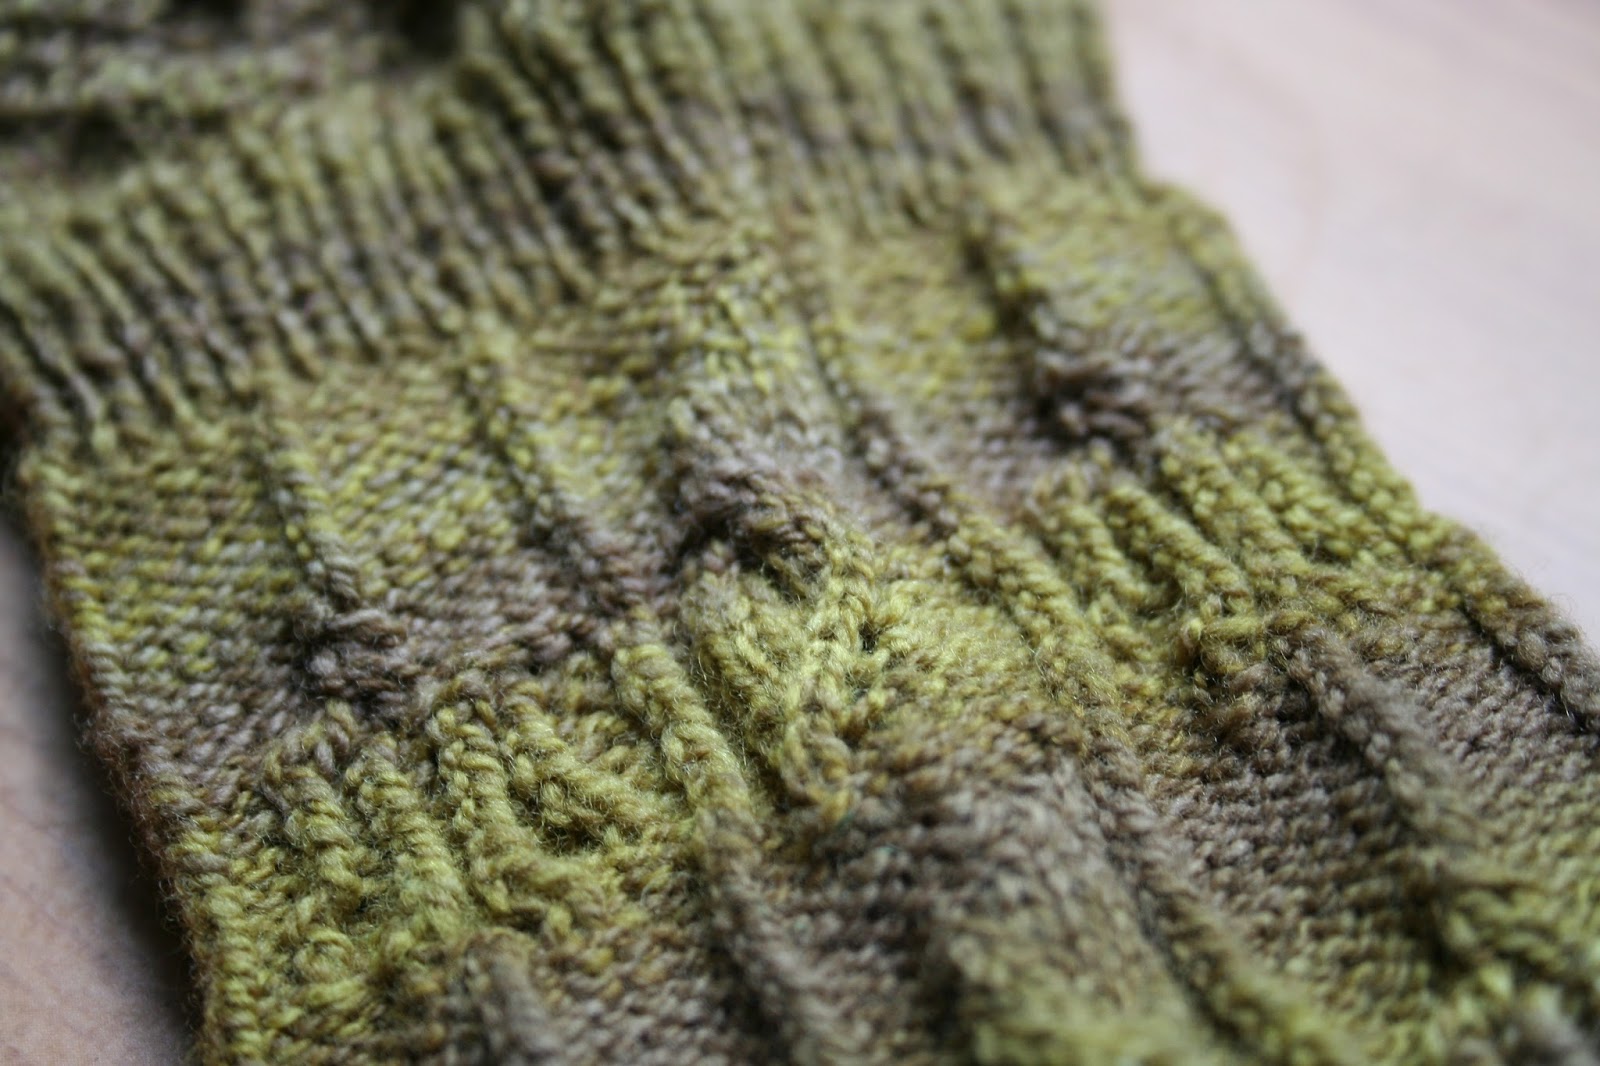
Now, let's talk about bobbles. Apparently, not all bobbles look good with certain yarn/needle combos. My bobbles look funny. I've understood the concept of how to make bobbles for a while now, but this was actually the first time I have made bobbles. I'm not really a fan of them. In fact, in combination with the first chart, the dragon's egg chart, I think they look awful. I almost wish I could just knit my second sock without the dragon's egg chart. The sock bulges at that point and makes the sock look strange. I know I haven't blocked it yet, but I can't imagine it will smooth out too much...but wool can be amazing. We'll see after they're both washed and blocked.
The heel is probably one of my favorite sections of this sock. That's boring, I know. It's a slip stitch heel so it's more durable that a stockinette heel, and because of the slipping of stitches, it has less elasticity than a ribbed heel. I'm convinced that I won't have droopy heel syndrome with these socks, and I'm fairly certain that these heels will last forever. I'm still that obnoxious kid who never unties her shoes before taking them off; a durable heel is key for me.
Last, let's focus on the top-side (Quidditch) pattern after the heel is finished. Remember how I said these are unisex socks? Well, it would probably be better to call these 'socks for the average male foot and for the above average female foot.' Okay, so it also gives the dimensions in the pattern. For the smallest size (ie, the woman's size), knit the Quidditch pattern until the sole length measures 8 inches, or 2 inches smaller than the actual size of the foot. I don't have very large feet (in fact they've shrunk after so much martial arts training and long distance running), so my sock needs to be at 7 inches by the time I begin the decreases for the toe shaping. The Quidditch pattern is (in)conveniently 2 inches long for the whole repeat. Well, poo. My short foot means that I'll have to cut the Quidditch pattern short and in an awkward spot. In the end, I decided to just start knitting the whole rest of the foot in stockinette and decrease when it got to 7 inches. The model has a nice finish where the pattern transitions into toe, but mine has this strange extra bit of nothingness. I guess it looks okay, but now I doubt my decision to just stop the pattern. Perhaps I could have made up something? I'll think about that if I make these again.
Overall, I really liked this pattern. I was never confused for a moment during any of the written or charted instructions. I've made only a couple of pairs of socks, so I'd say that this could easily be a great sock pattern for anyone in my boat. However, I would change a couple of things. I would definitely make these socks again without the dragon egg chart, but I would also add another repeat of the Quidditch chart to keep it at the longer length. I would also devise a truncated version of the Quidditch chart for the last repeat near the toe...perhaps I'd make mini broomsticks or mini snitches. Or something less intricate.
Now, before you tell me I should make both socks and wash/block them before I write a review, I wanted to say that this is the point which makes or breaks a pair of socks. I want to make the second one, but I have serious doubts about my first sock. It looks nice when I try the sock on, but will the dragon egg chart get saggy on my calf? Now is the time to make decisions about whether to make the second one and see how well it turns out after washing and blocking, or to take the first one apart and start over with something you might like better. I'm hesitant, but I'm confident that wool keeps it's shape well while being worn all day. I'm going to make sock #2 just like sock #1. And if I don't like how they wear after actually putting some mileage on them, I'll ask the internet how to remove the cast on edge of a sock and replace it with something else. Because I thought of it, it must exist, right? That's the law of internet information.