I really like the idea of upcycling old clothes and fabrics and turning them into awesome accessories and concept designs. When you rework small pieces of fabric, inevitably you create something unique and custom. One of my goals with a project like this is to practice cutting up old clothes confidently--it's about learning how to see past the shapes or construction of another garment and imagining how it could look with some tweaking.
So, this will be a photo tutorial in a light sense, meaning that I won't be showing you exactly how to do this. Rather, I'll be showing you how I did the whole process so you can get an idea of how to do this yourself. I began with an old turtle neck cashmere sweater:
Some tools you'll find useful:
- Sharp scissors or a rotary cutter
- Pins
- Self-healing cutting mat
- Ruler and French curve
- Sewing machine
First, I cut off the sleeves. I kept these aside and later turned them into arm warmers.
Sometimes it's good to pin things occasionally with a project of this nature. Cashmere isn't slippery, but I wanted neat, even edges. I started by pinning the bottom together:
Then I folded the sweater in half and pinned it together. The ruler is there for me to make a mark where the handles will eventually be formed. I made this point even with the bottom curve of the sleeve:
I just adjusted the French curve over and over until I got the curve I wanted. You may want to draw part of the curve, adjust, draw some more, to get the kind of curve you want. For my sweater, I had plenty of extra fabric at the top so I could make my curve in one go...but it'll depend on your starting piece:
This is how it looked when you open it up. This is the front of the sweater:
To make sure all of the curves are equal, I cut open the top of the sweater where the shoulder is. I pinned the armpit part of the sleeves on top of each other:
The central seam in this photo is actually the side seam:
Once pinned, fold it in half so that you can even up all of the curves. For a really thick sweater, this won't work. You may need to make a template.
See how uneven they are?:
Here are the edges all trimmed up:
Trim up the former shoulder of the sweater:
I am preparing to sew the sweater by pinning the bottom of the sweater closed. I tested some stitches on spare sweater fabric. This is important for testing sewing tension:
Baste!
I went for an overlapped strap with top stitching (like you see on jeans), but you could choose any other seaming method you desire. I connected the front shoulder pieces together to form the handle and the back shoulder pieces together to form the other handle. This allows the tote to be opened completely without the handles getting in the way:
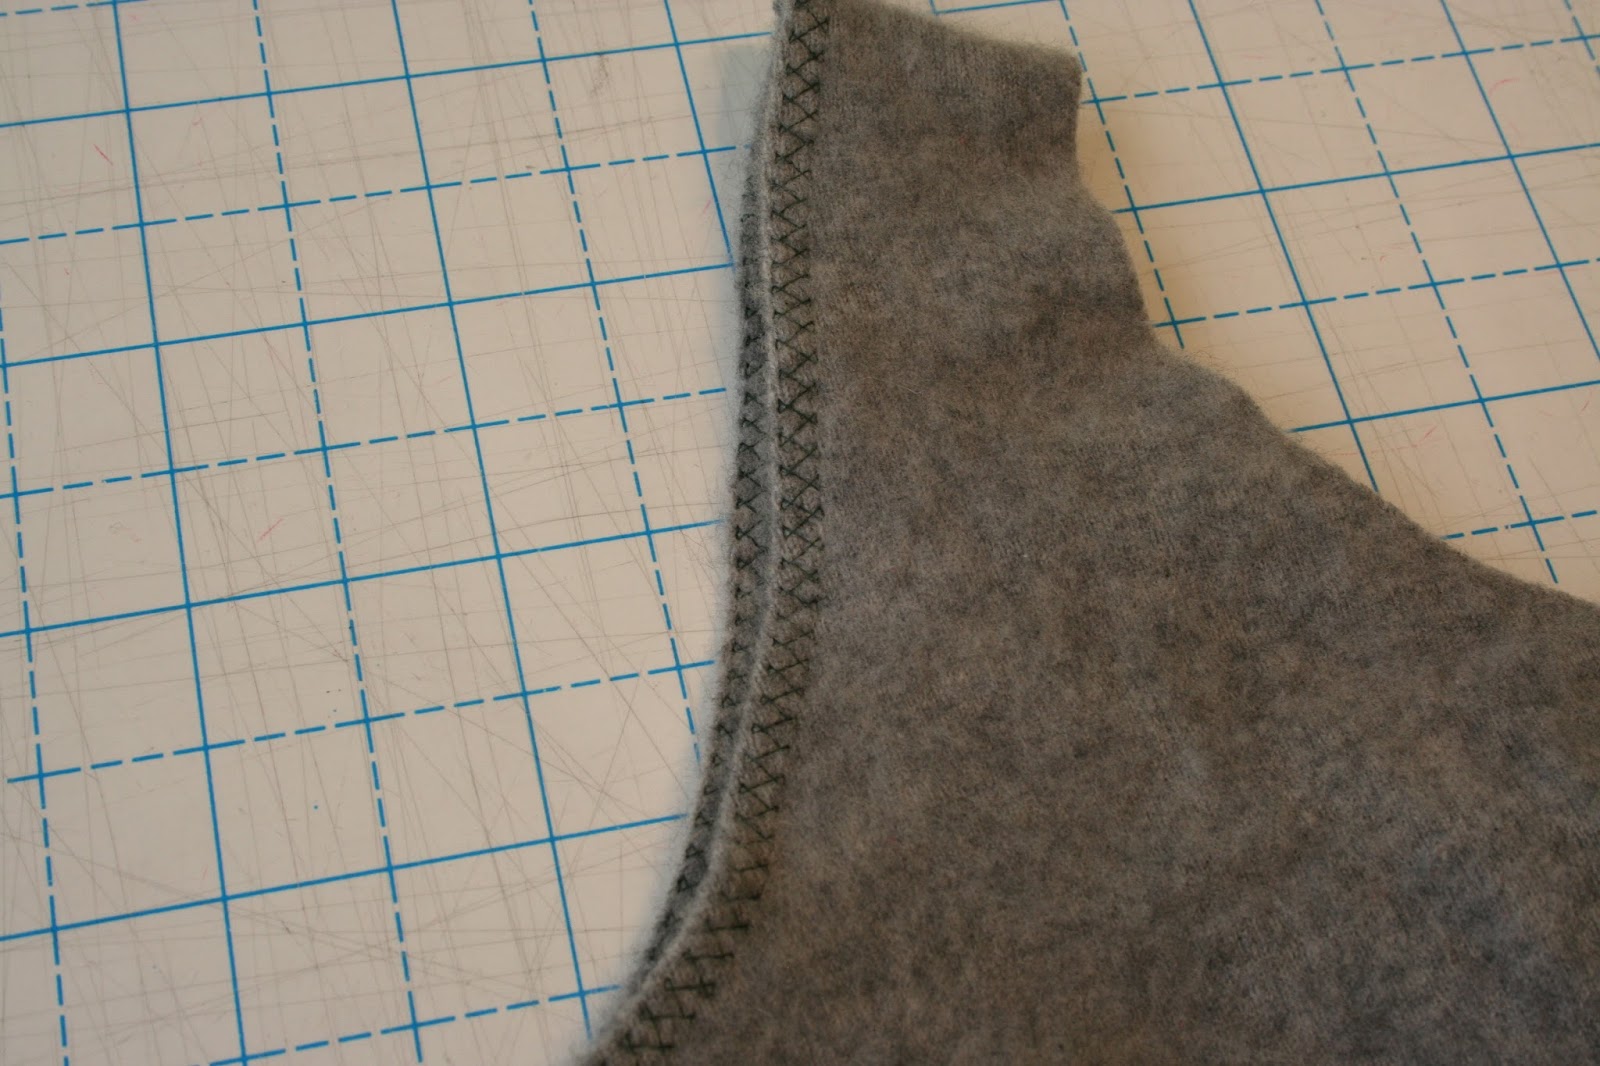
I chose a cool celtic stitch pattern in green because I wanted it to stand out a bit:
Then I curled the seam under and seamed the edges:
When you're done seaming, clean up the inside edges (if you want). I think it looks better trimmed up:
Now that all of the seaming is done, you have your tote! My sweater was a touch flimsy at first, so I felted it to give the tote more stability. Use the extra pieces to decorate, add pockets, etc. I will be back to show off the kinds of decoration I end up putting on my tote. For now, it'll hold my current knitting and spinning projects.
If you liked this photo tutorial, let me know and I will make more of them in the future! Let's stay crafty. :)


No comments:
Post a Comment