Showing posts with label drop spindle. Show all posts

Tuesday, June 30, 2015

Silk Spinning Challenge! Halfway Point

Okay, so I realize that we're about halfway through the spinning challenge now, but then I moved halfway around the world again. If you're interested in spinning silk, and want some buddies to spin with, join us over on Ravelry. There will be mystery prizes when I get them made (I had to unpack all of my tools and get it all set up). Things are rolling almost at a normal speed!

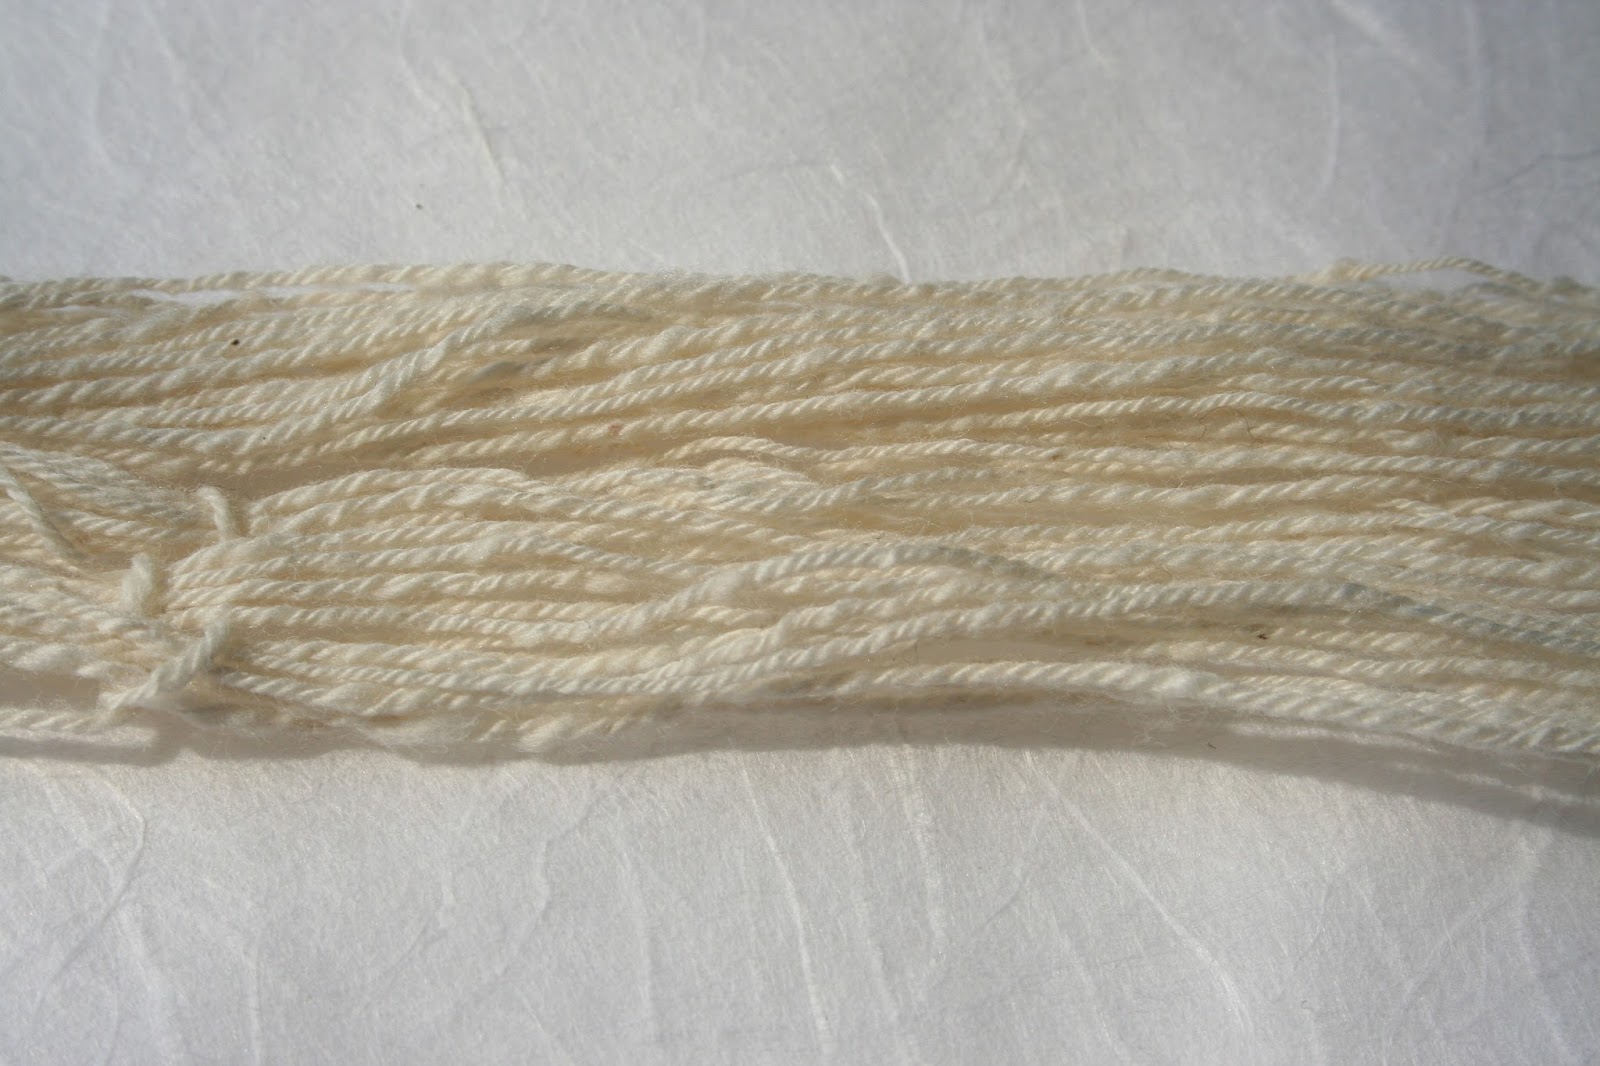
Silk is one of those categories of fiber that a lot of people shy away from for a long time because they hear that it is a slippery and often difficult to spin fiber. And it's not cheap, so if you mess it up, it's tough to just jump in if you're not confident with your spinning skills. I've been in that spot. No matter what you spin, there's a chance it won't turn out like you want it--even now, I spin yarns that don't turn out like I imagined, but that's a rare occurrence. So, when you realize that there's a chance you might mess it up, you're more free to just jump in. But we can minimize this chance of messing it up by working on it together. Here's my first finished silk yarn:


It looks a bit different than silk you may have used, and that's because I used silk hankies instead of combed silk top. For beginners, silk hankies can help you bridge the gap into spinning silk top. It's more forgiving in some ways, but you do have to learn a new skill set. Drafting hankies is way different than drafting other fibers, but when it comes to the spinning and plying, you don't have to worry about the twist amounts as much so you're free to focus on the differences between silk and wool.

I will do a video and show you how I like to draft out hankies so I don't get blisters or make my hands sore, which are common problems when you first start spinning silk hankies. I try to use more natural pulling motions to prevent strain on the shoulders, and I use the pad of my hand instead of my fingers to reduce the chance of blisters, cuts (silk is a very strong fiber!), and sore fingers. I will schedule it for tomorrow, and we'll see how that goes. I'm working without my main laptop, so I'll have to double check the quality.

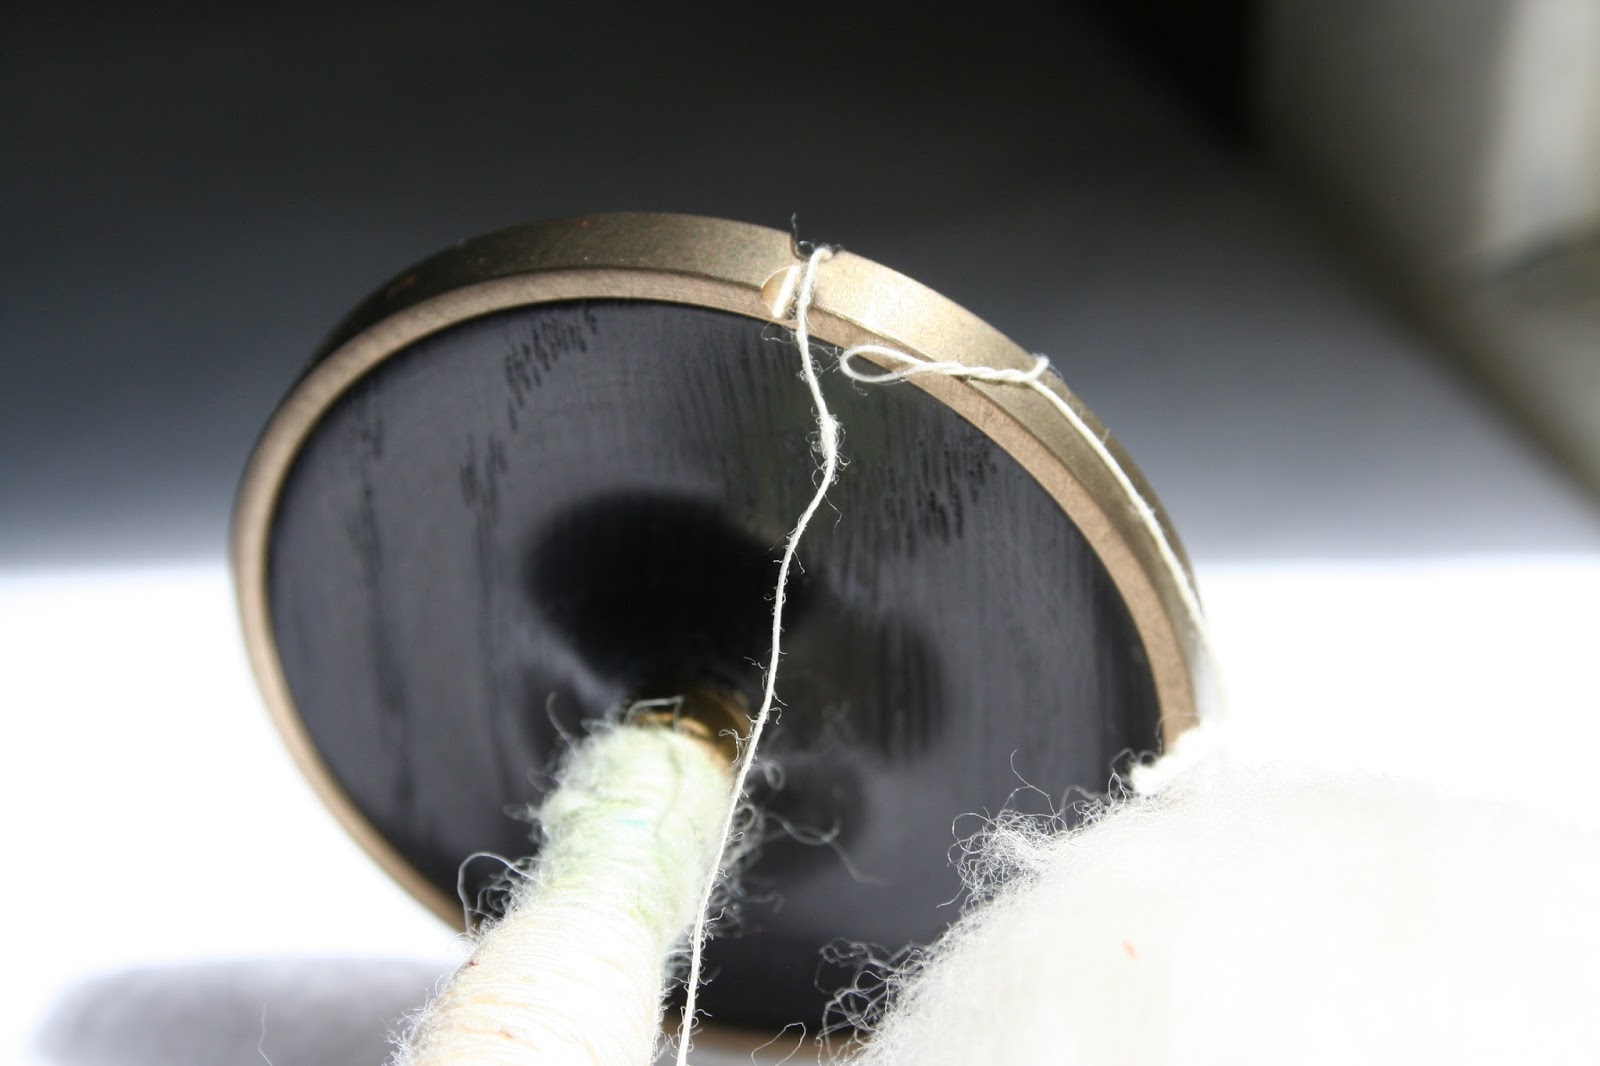
Here is my challenge yarn, still on the spindle.


It's very easy to spin silk hankies with a drop spindle, and due to silk's strength, you can make a thinner weight yarn with a heavier spindle and it'll be fine. Silk will still snap if there is too much twist in a thin spot (or if you pull too much on the silk), but you don't necessarily need a lace weight spindle to spin a lace weight silk hankie yarn.


Pros and cons of spinning silk hankies. The pros:

  • Generally less expensive than silk top
  • Has the characteristics of silk (shine/drape/thermal properties/so on)
  • Easy to spin (and ply)
  • You can add more or less twists per inch, to make a softer or firmer yarn.
  • Easy to dye and takes colors well
  • Singles can be spun very thin or very thick and it won't draft apart
Cons:
  • The noils prevent a smooth, uninterrupted surface, so it has that 'rustic' look
  • Drafting is more difficult and requires a skill you won't use for most other fibers
  • You can't draft if there is any twist in the hankie, and difficult to do at the wheel
  • It sticks to everything, so you should always spin with lotion nearby


However, silk hankies aren't best for everyone. Some won't like the noil texture which interrupts it's smoothness and shine. Spinning silk top will be worth the extra effort for some, and that's totally okay! Spinning silk top is a smooth experience, and the silk yarn practically makes itself when you learn to deal with its slipperiness. If you have spun fibers like alpaca and angora, you will be able to use those skills when spinning silk combed top. For your first time spinning silk, I recommend using tussah silk because it tends to grab neighbor fibers a little better than finer silks (like mulberry silk).

So, is silk top going to work for you as your first silk yarn? The pros:

  • It's very shiny and spins up into a smooth yarn
  • No noils
  • Drafting at the wheel is very easy and similar to drafting other fibers
  • Takes dyes well
  • Has all of the properties of silk
  • You can easily find silk top online
Cons:
  • It's more expensive than hankies
  • You can't find other silks like muga or eri silk as easily
  • It's very slippery and spindles are prone to dropping if you don't watch the twist carefully
  • You can't spin any gauge of silk as a single--thick singles will pill and begin to fall apart

The point is, silk hankies and silk top are both great for those interested in learning how to spin silk. You don't have to start out with one or the other, but if you know some of the pros/cons of each, you can choose the silk you want to start with based on your skills/interests/budget. And if you do run into a problem, stop by and we'll help you sort it out!


Saturday, May 23, 2015

Tax Day Cotton Spinning Challenge: Results!

The Cotton Spinning challenge is over, and I'm really glad ya'll motivated me to try out cotton. Many of you who began with me were beginners, and we all learned something new: a love/hate relationship was formed, in some cases, and others realized that cotton spinning isn't for them (yet). This challenge didn't seem to breed any new cotton lovers, but I'll talk about that later.

First, let's talk about my rationale when I approached this topic. As I mentioned before, I didn't want to do much research about how to prep, spin, and set cotton yarn, since I wanted to rely on my spinner's intuition. You can read more about this in my first and second posts. When I combined my spinner's intuition and my research, I got my seventh (and final) sample for this challenge. It represents how I have implemented all the things I learned about spinning, but it also shows me that I was mostly on the right track from the get-go--I was just missing  a few helpful tips.


In the seventh sample, I started with a well-beat wad of cotton and rolled it up into a ball. The cotton beating whipped air into the whole mass, effectively separating the fibers (attenuating the fibers) so they wouldn't mass up together during the spinning process. To do the beating, I took the cleaned, hand picked cotton (last pictures of the second post) and placed a firm pillow between my knees. I grabbed a long dowel and literally just beat the cotton with it. When the mass got too big, I folded it over on itself and beat it some more. If you make things like pastry dough, you'll understand my process. Eventually, it became a smooth, even batting. I folded it into thirds and rolled it up into a ball.

The resulting yarn was a bit fuzzy, but still quite smooth and even:


Here's the 'cotton ball' I ended up making. Notice how clean it is? This beating method did an excellent job reorganizing the fibers into a disorganized mess. The drafting for this sample was the easiest of all and took the least amount of spinning time.


So, I spun a grand total of 1 ounce of fiber. Not a whole lot of fiber, but I learned much from it and I can apply this expertise to project-oriented goals. I still want to make a tea towel! :) Here's what cotton needs, but this is neither an exhaustive list nor the only way to spin it.

  1. Cotton likes twist like we like fiber. To wit, it needs a ton of twist. Do you think you have enough? Better add more twist. All of my samples improved when I added more and more twist. I spun and plied my samples very tightly and by the time I made it to my seventh sample, I finally grasped how much twist my cotton needed.
  2. Plies are your friend. If you want a thicker yarn, make it so by adding plies rather than spinning thicker singles (as a side note, though, Stephanie Gaustad talked about setting twist in the issue of PLY I recently reviewed, and the cotton sample they showed was a soft spun cotton single...which knitted up into a beautiful swatch). If you're having trouble working with your cotton yarn, try plies instead of thicker yarns first.
  3. Boil the yarn! That's right, cotton loves it hot hot hot! In my first samples, I set it like I would wool yarn because I wasn't sure what it needed. After further research, I learned that cotton needed to simmer in very hot, soapy water for 30-40 minutes, and only after that would it be considered set. As a side note, you could steam the yarn, though it would still take a bit longer than if you steam set wool yarn. It also brightens the color of the yarn.
Commence the slideshow! I was often frustrated with spinning cotton, but I also had a lot of fun too. I'll point out my favorite bit and worse bit of each sample--if I didn't have any fun, I probably wouldn't have stuck with cotton spinning this whole month. I made an effort to spin a little of it each day. 

Sample 1:


This sample was made before I did any current research. The stuff I learned several years ago was what I had to go by, but at least I succeeded in making yarn. :)

Thing I loved: It is an incredibly soft and squishy yarn. It would definitely keep you warm and snuggly if you had a whole bunch of this yarn woven into a blanket. Thing I disliked: It was hard stopping the spinning to remove the vm, so I spun it into the yarn anyway. It also likely weakened the yarn.

Sample 2:


This sample was similar enough to sample 1 (though it certainly has more twist!) for me to have the same likes/dislikes as sample 1. It's only slightly more tightly spun than sample 1...I was still very timid about the amount of twist it needed.

Sample 3:


This third sample is noticeably rounder than the first two samples, and that's partly because the singles are a bit thicker. I had a hard time spinning a thinner worsted spun single because it was difficult to keep up with the twist while I was drafting it thinner.

I love the smoothness of this sample, but it doesn't have the 'cotton' texture I come to expect from cotton yarn...it doesn't look as organic as the above samples.

Sample 4:


It may not look like it, but this sample was spun with more twist than all the other samples so far. As for the drafting, it was easier to make it thinner than with the worsted technique, but I suffered from clumping as the cotton drafted from the puni. This is when I decided to experiment a little with the puni-making process. For this one, I carded a fair amount of cotton onto a small dog brush, then rolled it around 2 size US 5 knitting needles. Maybe the punis were just too big somehow?

I love the nubbly texture that this particular sample made, but it really wasn't what I was going for.

Sample 5:


This sample was also the one I chose to make larger, so I could see what spinning cotton for a larger project would be like. I also took this opportunity to experiment with rolling up punis. I finally settled on 1g of fiber rolled around a pair of US 2 dpns. Before I was done rolling, I would take one of the needles out of the puni and roll it tighter so it was just the diameter of the single needle. I was able to draft a little smoother from the smaller punis (though, I think for a different reason that I originally thought), so I concluded that puni density mattered at this point.

I love that I as able to make a larger sample and compare my skills throughout just this single sample, but you can tell where my cotton spinning needs more practice (the parts which look extremely loose). I thought I had spun the singles with enough twist so that I could ply it easily from a center-pull ball, but I was wrong. The yarn snapped in about three places and drafted apart in two places. I'm not sure what caused the yarn to snap because it would seem that it didn't have enough twist to cause a snap in the first place--maybe I yanked on it too hard when I was giving each single even tension?

Sample 6:


This sample was the first to combine the various techniques I had learned during this process. I went back to my organic cotton and set out to clean it really well so that I could make smoother punis and spin and smoother yarn. I also threw timidity out the window and went for broke with twist...This turned out to be the tightest of all the samples so far. It's cleaner, tighter, and even smoother than the other samples (except the worsted-spun sample). I still missed a few noils and bits of vm, so I think I could have done even better when I was scrutinizing the cotton before I carded it. Those bits are a pain to remove as you're spinning. I also switched to setting the yarn in roaring hot soapy water. The result was a soft, bright, and completely comfortable cotton yarn.

I love the nobbly texture of this cotton (and its whiteness), but I still wish I could have made it smoother.

Sample 7:


For this last sample, I spent much more time during the preparation stage than for any of the other samples. I think the result is telling. It's smooth, clean, and just looks like cotton yarn. I also opted to Navajo ply (chain ply) it because 1) I needed to have something other than a 2-ply in my sample book for cotton; and 2) my cotton bud Angela was having trouble with it. I think the key is to start with a smooth cotton yarn if you plan to N-ply with it. If it isn't smooth, the bumps will get caught on the crochet chain loops, and as you pull it through, it could snap more easily.

Using my spindle, I just literally stopped adding any twist, made about 3-4 chain loops so I could make the N-ply, then I added my ply twist to that bit. I found it extremely difficult to chain ply as the spindle was actively spinning, so this stop-and-go method worked well for me. It's probably the case that I'm just so new to working with chain-plying cotton that I encountered so much difficulty keeping the spindle turning. This stop-and-go method seems to be best for beginners.

I love how this sample turned out. It really is the culmination of everything I have learned this past month spinning cotton. Many of my spinning intuitions helped me along in this process, and what I couldn't just figure out on my own, I learned from reading and watching people use culturally different techniques. I'll continue working out how to make these cotton balls in the future so they don't take quite so long to make. If I can make them faster, then perhaps I'll always keep some cotton on a spare spindle.

I also wanted to share how different the white cottons I was using were. The top one here (sample 7) is made from the loose, organic cotton, and the bottom one (sample 5) was made from the combed top cotton:


The top one is considerably whiter than the bottom one, which is more pinkish-yellow. I have read that setting cotton yarn in hot soapy water for 30-40 minutes will also lighten the final color. Because the bottom yarn was set like wool (warm soapy water for 10 minutes), it could be exhibiting its original color. I should break sample 5 into two pieces and set one of them in hot water, then compare again.


I really have come far since sample 1. They look like they were spun by two different people!

There you have it, the Tax Day Cotton Spinning Challenge is now complete. I have a more intimate rapport with cotton today, and I couldn't have done it without the motivation from all of you, my friends and fans in the community. Thank you to everyone who spun a little cotton with me, and even if you found that cotton wasn't your thing, I'm glad you had the courage to dive in head first with me. Really, I appreciate your willingness to try new things with me!


Thursday, April 30, 2015

Tax Day Cotton Spinning Challenge: Halfway Point

Going from Level 1 to Level 2 in any RPG game is easier than going from Level 2 to Level 3. More experience is required. At those early levels, you're often encountering similar beasties and will receive similar XP when you smite them with your long bow or axe. So, attaining Level 3 took more monster killing than attaining Level 2. But you also began to learn some things about your character, your enemies, and the environment. Well, cotton spinning, for me, is no different. I think this metaphor applies to many of you who have been doing this challenge with me.

So, let's start off by looking at my first sample (which, if you'll remember, was made without researching anything yet):


It's rough, lumpy, has vm and noils, but most importantly, I succeeded in making yarn. My punis were soft, but the drafting was horrendous. I had to pinch and pull the fiber down to the point of contact (where the twist enters the fiber to become yarn) like an inch worm. Otherwise, my spindle would hit the ground. Sadly, my poor, Russian Bog Oak spindle, my baby, hit the floor several times. I put a towel down so it would land on something soft, but dropping a spindle is a sign I'm doing something wrong. Then I got a helpful tip from a G+ user, Andrea Schroer, that cotton needs a lot of twist. She's been spinning cotton for a long time, so that's the first change I made for my second sample.


Okay, so you can't really see the difference in this picture, but I really did add more twist to my second sample. Here's the side-by-side so you can see just how much twist was in the second sample, even after plying:

First sample, left, Second sample, right
The left sample is fluffier, fuzzier, and has a softer outline. The right sample is smoother, denser, shinier, and more sharply defined as a result; you can really see the individual plies as they twist around one another, but the loft obfuscates the plies of the left sample, so they're difficult to discern. Additionally, for the same length of skein, the left sample only made a single 180 degree turn (rotated a half turn) when I removed it from the niddy noddy, whereas the right sample made 3 whole turns. After washing and setting, using the same method I use for setting wool, they both hung in the same manner. Still, I think the singles need more twist.

Then I decided to try and spin the cotton worsted style, since some people had cotton top at hand. Now, I knew from years ago that this wouldn't be easy to do, and, well, it isn't easy to spin:


It may not have been easy to spin, but it did produce a smooth, non-fuzzy yarn which was probably stronger than my first two samples because there were no noils or vm present. I increased the twist again because my second sample still didn't look plied enough. With cotton's short staple, my fingers had to move deftly to spin far enough ahead of the twirling spindle so I could pinch and draft the fiber...and this is when I first encountered backspin. Because my hands were so busy controlling the twist and draft at the point of contact (where twist enters the unspun fiber), I let my spindle untwist. The decision between adding another spindle flick or managing the fiber/yarn dance was a difficult one. I realize that this is a small problem, but if I wanted to spin lots of cotton for hand towels or bags, this backspin would become a bigger issue and waste time. So, back to the drawing board.

This time, I carded the cotton top into a puni and spun from that:


The result was a similarly smooth and even yarn, with lots of twist, but slightly fuzzier than the true worsted sample. Over the course of this challenge, I have leveled up my puni-making:


After this sample, I decided to do some researching. I'm still in the process of reading up on cotton spinning, but here are two sources to read: Spin-Off's Spinning Cotton and a documentary about cotton spinners in South America. Because I had already spent some time experimenting and observing first, when I finally sat down to research I understood and retained more than I would have from the outset, and I may be able to fix some of my carding/puni problems from watching others.

For my fifth sample, I decided to make a larger sample. Sometimes when you make small samples, you're fingers and brain are just getting used to things, then you stop. I didn't give it an arbitrary stopping point--I just kept going until I couldn't remember what the starting yarn felt like.

Quick story time. When I first started spinning wool, I just let myself forget how I started spinning so I could find out 1) what my natural spinning gauge was, and 2) learn what gauge felt best for that fiber. I don't care that my cotton yarn will be a strange range of gauges when I'm done because I'm learning. Besides, I can use this cotton for all sorts of future projects, so I'm not wasting anything.

Here is the larger sample:


As I wind on, I'm trying to make an ovoid shape, just like the ladies were doing in the documentary video. It probably has something to do with spin time, so I'm experimenting to see if it has an impact with a different kind of spindle. The jury is still out.

The fifth sample felt like it was getting too heavy, so I decided to wind it off onto my ball winder (under tension) so the twist wasn't so active when I went to ply it:


While that sat, I started sample six. I was going to try my hand at double drafting the cotton (allowing twist to start to draft the fibers, then pinching the twist and drafting it further before letting the twist flow in again), which works well for very short stapled fibers.


While I believe it turned out to be more consistent than my first sample, it still suffered from the same kind of puni problem. In my original puni, I rolled the fiber onto size US 5 dpns in a fashion similar to the way I rolled the rolags in my blending video, but I think it made the puni too wide. I switched to a pair of US size 3, but the difference wasn't enough. I now roll the punis with a pair of size US 2 dpns, but after the fiber is wrapped around the two needles, I remove one of them and try to pack the cotton more densely around the single needle. I'll have to do a video to show you what I mean, and I'm not sure I'm even doing it right.

That said, I think it's worth experimenting with puni-making now. I have a good understanding of how to spin cotton (though, I think I'm still being timid with the amount of twist it needs), but my fiber preparation is halting me from moving forward. So, here I am, stuck at the end of the XP bar, all of my Level 3 abilities just barely out of reach. Here's my first solution experiment. I am picking open the cotton by hand, removing all of the little vm bits I can, then I'm hand blending the cotton so I can further open the fibers to remove vm and get the fibers all roughly aligned:


The result is a fluffy pile of cotton, which is ready for...well, a beating. Do you remember seeing the part in the documentary mentioned above of the woman beating the cotton? Well, I'm going to do something similar to that to see if I can prep this fiber for smooth spinning and for making stronger yarn. We'll see how that goes. :) If you want to be part of the cotton challenge, you're always welcome to join in whenever, even if you don't hear about it until we're done doing it as a group...knowledge and experiences are not ephemeral. Join us on Ravelry if you want more regular updates and if you want to share your current experiences and insights from spinning cotton.

Friday, April 3, 2015

Cotton Spinning Challenge: I Don't Know How to Spin It

We all have one of those fibers that we just don't know how to spin. Maybe we don't spin it because it intimidates us. Or maybe it's too expensive to mess up. A small while back, I was intimidated by cashmere and I was afraid to dig in because I was too worried that I'd mess it up. So I hoarded it like a dragon would. But one day, I took a big gulp and dived right in--and now I am much more knowledgeable about spinning cashmere and I really enjoy it now! With that in mind, I can admit it: I don't know how to spin cotton because it has intimidated me in the past. I mean, I know how to spin cotton, but theory and practice are different.

To motivate me to actually start spinning cotton, I am proposing a Tax Day Cotton Spinning Challenge! Starting April 15, take the day to begin something new. Or pick up cotton spinning again if you tried in the past but weren't happy with the experience. You're welcome to begin before April 15, but I know that some of you don't have cotton in your stash... Despite never having spun it, I have about 6 ounces of it in my stash. Here is organic cotton that I bought ages ago from Etsy:


There are small bits of the boll in here that I'll have to comb/pull out as I go, but I bought this because I wanted to practice making punis. It also served me in my cellulose dyeing days. Before I headed to Korea, I was just starting to branch off into dyeing bamboo and cotton, in the hopes that I would learn how to spin cotton so I could troubleshoot spinning questions about it. Well, this is about as far as I got with dyeing and spinning cotton 3 years ago:


With the dyeing process, much of the plant material fell out of the fiber. I learned a lot about professionally dyeing cotton during this phase, so I'm a lot better these days. But I still have a ways to go before I can start kettle dyeing it and steam setting long repeats in combed top. I was also impatient when I first got started, so here are 3 year old rolags (I tried to remove all of the plant material as I brushed the fiber!):


I also got some combed cotton top from my friend in Japan. She sent a sample along to help out with my videos (she's such a peach!), so it's time to sit my rear in a chair and learn how to spin cotton. The top is wonderful, by the way. It's soft, squishy, and I almost can't tell it's cotton...except that it completely lacks the slight sheen of other soft fibers, like angora. It's extremely lightweight:


I've heard that spinning cotton top can be an added challenge, but is completely possible, even if you choose a spinning wheel as your tool. My challenge is to start at the beginning, trying out what I know first. I know that people spin with a puni, and to make a puni, the cotton needs to be combed and tightly rolled over a dowel (or size 5 knitting needle) and packed tightly. You also need to spin it on a lighter spindle so that the short staple and high twist don't make the yarn hard--I know that many spin cotton with a supported spindle (like a tahkli) or with a charka, but I don't have those tools on hand, and unless you were already spinning cotton before this moment, you probably don't have these specific tools either. Perhaps this is your moment to break out these tools in case you already happen to have them!

Last night, I made a single puni and started spinning it. Already, I can tell you that I didn't brush the cotton enough before I rolled the puni. My first impressions are:

  1. I need to research how much twist is needed to make a 2-ply. My single is holding together just fine, but it doesn't look like a healthy, medium twist 2-ply when I ply it back on itself. I feel that if I add more twist, it'll feel too hard
  2. How much fiber is too much fiber for a puni? I started off thinking that a gram or two would be plenty, but there doesn't seem to be enough cotton in my puni to really keep the drafting going smoothly. 
  3. As a follow-up to 2, how large of a needle should I use when rolling my puni? I'm using a US size 5 knitting needle to wrap the cotton around, but is it too small? I want a nice light yarn which drafts well as it comes off the fiber supply, but I can't tell you if the size of the hollow center of the rolag makes a difference or not.

When this little puni is done, I will ply and wash it to see how it turns out. I know that this method of testing seems a little unorthodox, kind of like inventing the wheel and knowing that wheels already exist, but it can serve a purpose. In the back of my mind, information regarding cotton spinning lies latent, ready to be tapped. Additionally, I like the idea of discovering some things on my own, without the bias of the outside world--it allows me to work outside the box if I need to. Sometimes we get weighed down by rules, and this is my opportunity to take a vacation from "this is how it's done."

In the next cotton spinning post, I will share what I am using as resources, as well as a photo or two of my finished 2-ply yarn. If you would like to get on board and spin cotton with the rest of us, stop by my Ravelry group to join in. Things are always better with friends. And pirates. :)