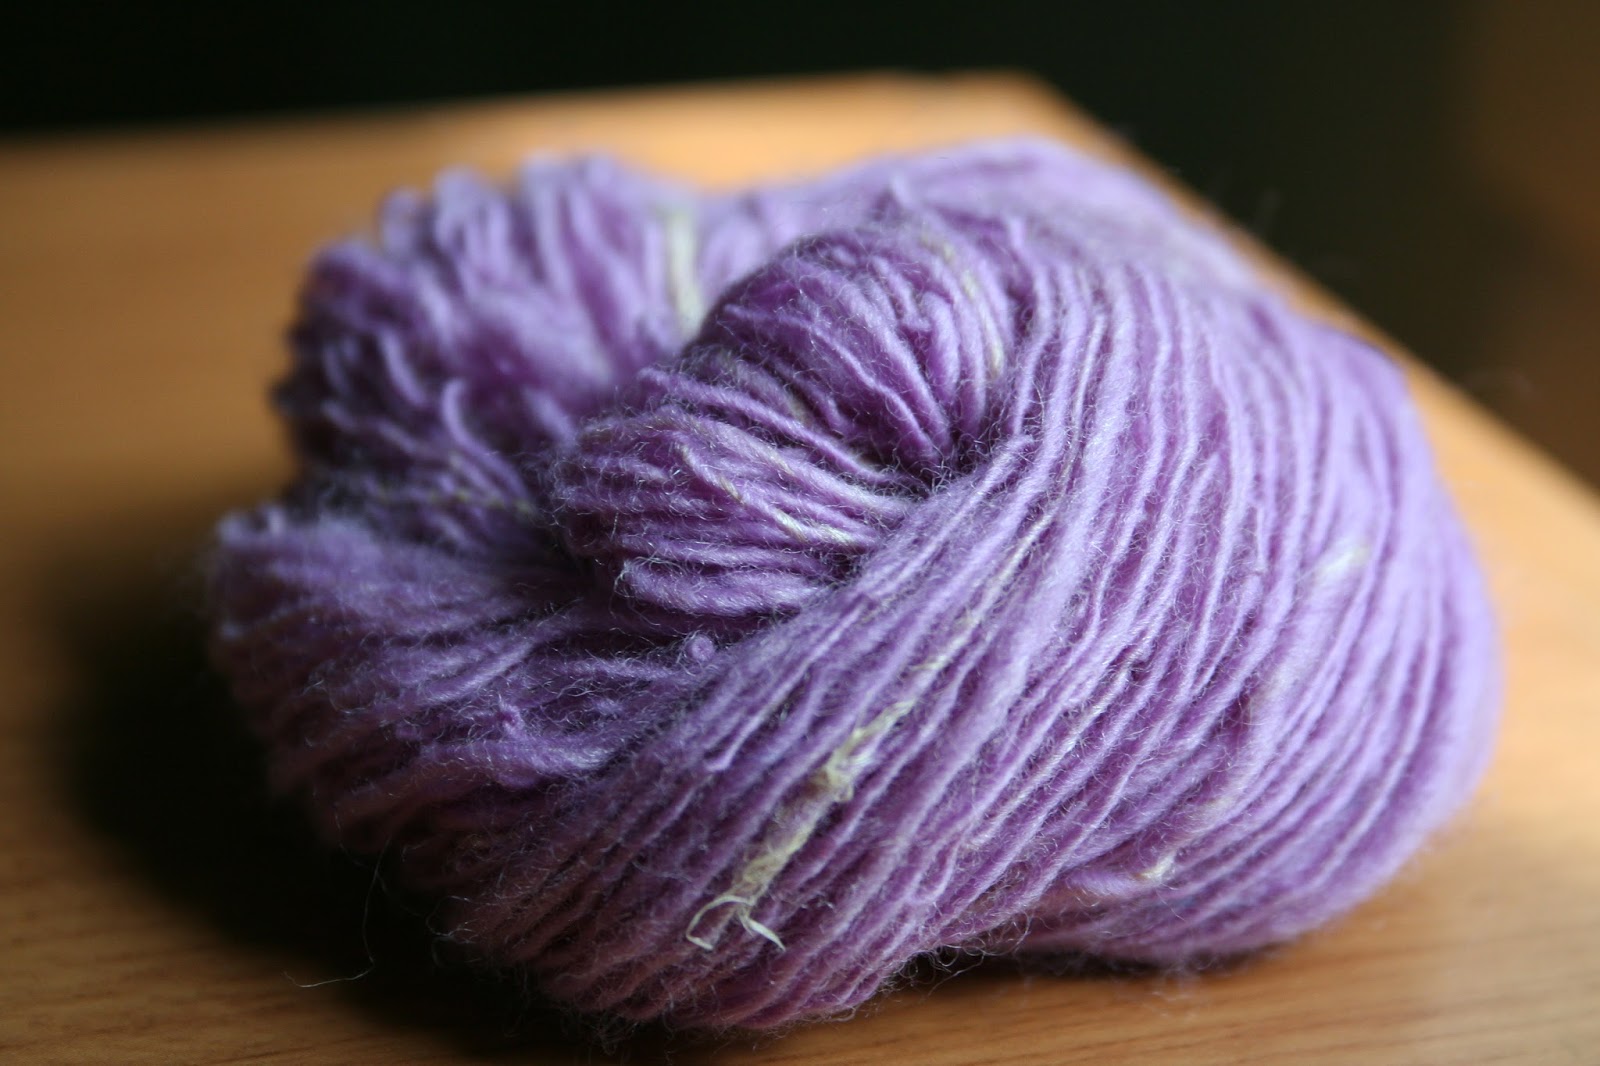
Monday, September 29, 2014

Dye Brand Names Revealed!

Blind reviews are fantastic for removing biases during the testing phase of products, but then you want to know what the brand names are. I was a little nervous about this fact, because what if it was a well-known brand which I didn't think was good? Or, what if the brand I end up liking is ridiculously expensive? Well, these are considerations you should probably at least think about when you embark on this kind of adventure, but if you end up choosing the most expensive brand available, isn't it worth the money to have stress-free dye days? I'm going to go with 'yes.'

So, let's do the big reveal now. Keep in mind that these are just my opinions and personal experiences, and do not reflect the results of the entire dyeing community. I may have received a bad batch of dye or I'm just not using them the way that others do. Brand 1 is Atul Colors from India. 

Brand 1: Atul Colors
This particular dye brand gave me the primary colors I would expect, and reminded me of an elementary school. They dyed the fibers very well, but I was a little disappointed that the merino didn't take the dye as well as the BFL. The second biggest issue I had with this dye company was that the red dye solution was goopy and the black dye left large specks of coagulated dye in the dyebath after it was done dyeing. Again, this dye may not have liked being in a solution, so perhaps it would have worked out better if I just used the dye as powder instead. In regards to the merino problem, I might try dyeing only merino to verify that it just fixes the dye more slowly than the BFL. This difference in rate of color fixing is important to know, and now if I dye a BFL/merino blend batt, I will probably get two different shades of the same color--you could really have fun with this, and if it's predictable, you can dye the two different shades of one color in the same dyebath. That would save you some time and effort!

Brand 2: Sandos Colors
Brand 2 is Sandos Colors from India. Aside from my problems with the yellow dye not forming a solution, this brand dyed very well. I loved how the blue turned out, and it was very different than the blue from Brand 1. Since it was so different, it gave me lots of ideas for combing colors, and probably would have produced beautiful tropical colors instead of the 'regular' ones (think about normal Starbursts versus tropical Startbursts). It may very well be worth requesting for new yellow dye from this company and trying it again without making a solution first. If this brand's yellow is finicky, I might be able to deal with it to see how the yellow color turns out on the fiber. This brand was an extremely close second out of the three I tested. I might just buy the blue from this brand because I love it so much!
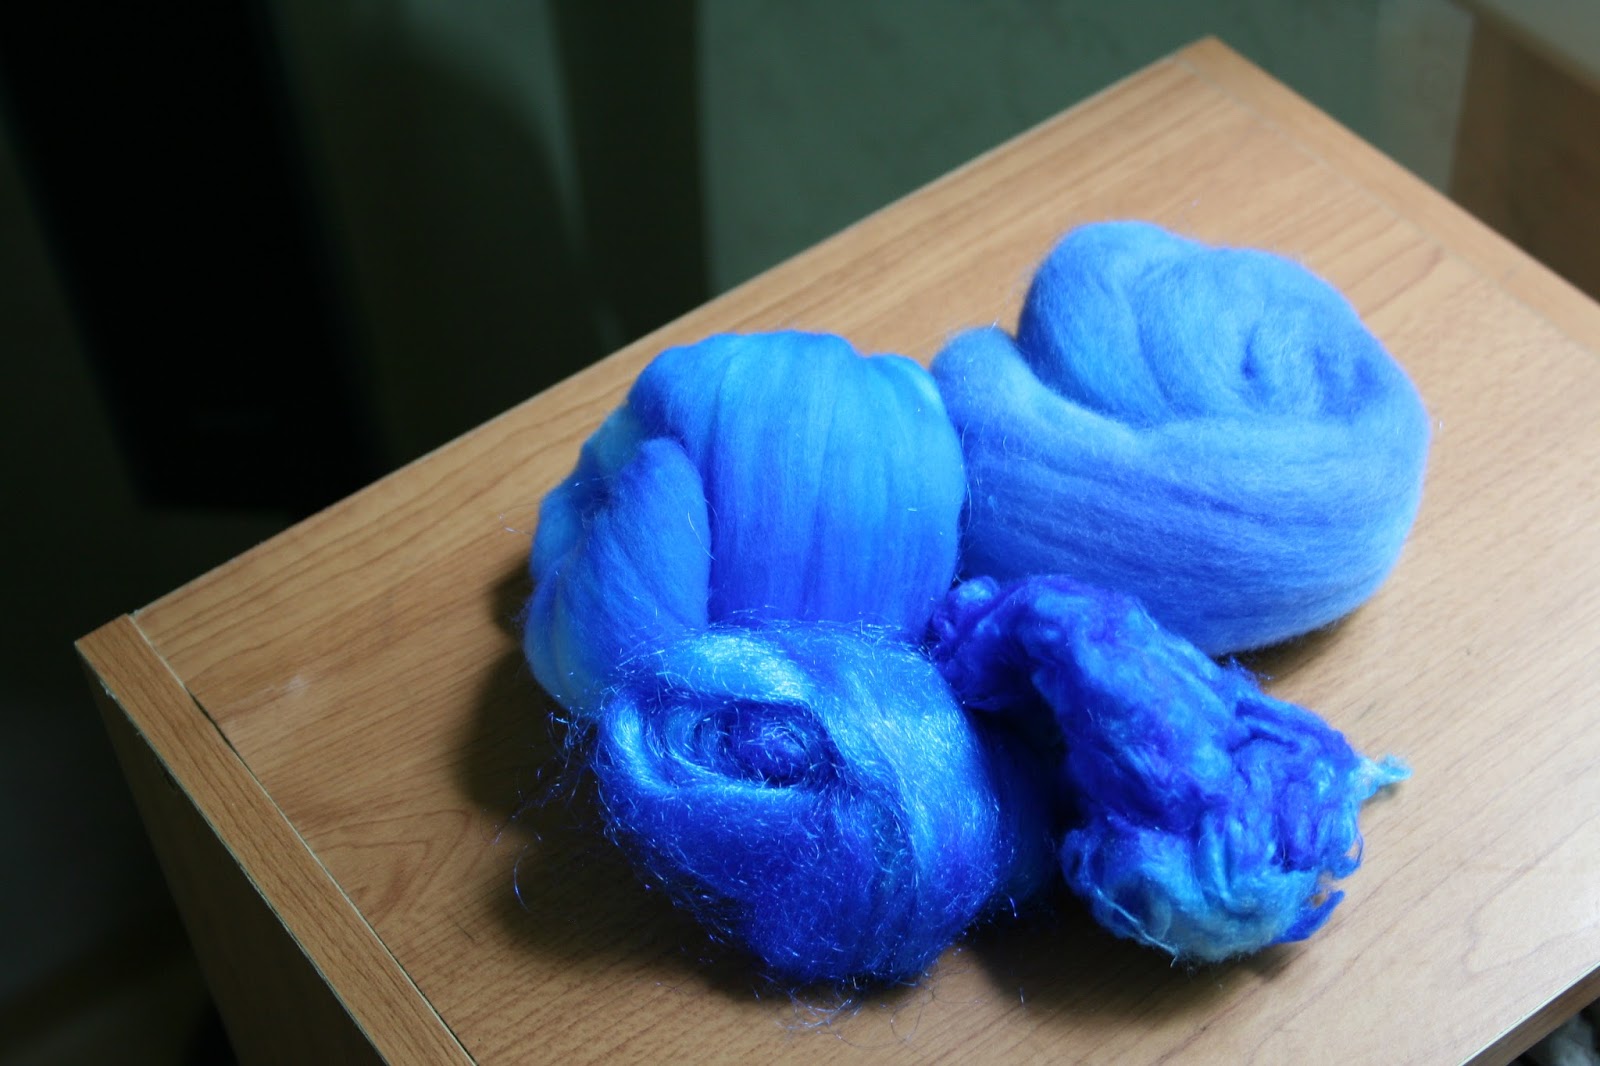
Brand 3: Miyakozome Acid Dyes (wool and silk)
Brand 3: Miyakozome Acid Dyes (cellulose)
Brand 3 is Miyakozome Acid Dyes from Japan. These were the dyes I was most pleased with using. Given their lack of problems and great coverage, they were the reason I swooned for Brand 3. I talk at length about why I think this brand can dye both wool/silk and plant fibers in my review of Brand 3. I don't really have many cons to say about this brand, except that I think it may be the most expensive brand out of the three I tested. In this case, I think the higher price tag makes the hassle-free dyeing experience even better for me.

Would I ever use Brand 1 or 2? The short answer is yes. Though I experienced some problems with those dyes, it doesn't mean the whole brand is awful or worthless. Some of the dye powders might require more attention, and I may have to substitute colors of one brand to use with a different brand. The dyes from India are very inexpensive, so it may be worth it to buy cheaper dyes and mix and match colors to get the results I want. If I'm a hobby dyer and only dye 6 weeks out of the year during the summer, these will probably fit my requirements easily.

Brand 3 is a clear winner when it comes to the consistency of the dye solutions and the ease of dyeing, but the yellow and blue aren't as nice as the colors of Brand 1 and 2, respectively. At some point in the future, I'll probably buy the blue from Brand 2 because I think it has a lot of potential in creating fun colorways. Even though I'm going to choose Brand 3 as my primary dye company, I will by no means forget the great colors I got from Brands 1 and 2.

Thank you to everyone who has followed these testing experiments over the last several months. I wish I could have worked on them at a faster pace, but life happens. If this has inspired you to do some testing on your own, and especially if you decide to do things differently, post your own results in the comments below, or post them to Facebook so we can all learn something new.  

Tuesday, September 23, 2014

Adding Pizzazz to Plies: The Argument For Variety

I began thinking that all of the plies of a handspun yarn must have the same add-ins to look right. If you wanted to go with angelina, you would use angelina for each ply, and so on. But why? Over the years, we seemingly invent rules to follow which have apparated  from no place. Well, this rule inserted itself in my repertiore, unbeknownst to me. So, I have flushed out this strange rule with one of my most recent projects.


I grabbed my new blending board, made a sample rolag, and spun it up in this colorway. It turned out beautiful, if simple. Then I made six more and ferreted them away until I figured out what I wanted to do with them. After observing their presence in my storage drawers for several months, I decided to drag them out and put them on my work table (this is becoming my go-to strategy for getting projects completed regularly). 

Originally, I thought I would spin them plain, but then I remembered how much texture and color pulled silk can add to a yarn, and it's extremely easy to add in while you're spinning. Thus, I made my first single, out of two whole rolags, holding the pulled silk with my drafting hand. I spun each single of this 3-ply yarn in worsted weight, which meant that the final yarn would probably be around 4 WPI when I was finished. This sparked an idea, and on my second single, I grabbed a bag of angora tufts. And for my third, I loaded it heavily with angelina. The beauty of this project was that since it'll be plied together and each ply is different, no add-ins would overpower the finished yarn. Here are the singles sitting on their bobbins before plying:


Here's a closeup of the angora tuft single:


...a closeup of the angelina single:


...and a closeup of the pulled silk single:


Each of these yarns would look wonderful as singles, and I almost kept them that way. The variety in the pulled silk single contrasts deeply with the light fluffs of the angora single, yet I am still aware that the underlying yarn is the same. Then I spun them all together.


Neither ply truly shines forth above the others, yet when you get close enough, one ply might have more add-ins contributing to the overall appearance of the yarn in a particular section. The result is a well-balanced yarn, full of color, texture, and variety, without being lopsided in the 'too-much' or 'too-little' categories. I think the thickness of the yarn was key for its cohesiveness, since I really did pack on the add-ins while I spun the singles. Had I been making a thinner yarn, the add-ins would have overpowered the yarn easily. 

The lesson I learned with this project is it's okay to go a little hog-wild when adding visual interest to a yarn, and mix and match add-ins to increase visual variety. This fact alone is part of the reason why art yarns are so beautiful. One caveat though, you must remember to keep in mind the diameter of the yarn you're making and adjust the amount of add-ins accordingly, or else you might end up with a garish and scratchy yarn...and you don't want that. But don't let me stop you from walking that fine edge between too much and too little. Afterall, we each have personal tastes. :) 

If you give this project a whirl, post your pictures on Facebook for us all to marvel at your beautiful creations!

Thursday, September 18, 2014

Woolen Spinning: A Beginner's Tale

At this point, most styles and methods of spinning come easily to me (well, maybe it wouldn't be so easy if I switched drafting hands). About the only thing which still confounds me is the longdraw method, which produces a soft, airy woolen yarn. I gave this method of spinning a shot several years ago when I first learned about it, but I failed miserably. Since then, I have made several more attempts to learn how to spin this way, but I can't ever hit the ground running with this technique. Some days I feel determined to learn it and finally understand how to do it, other days I just want to forget that this technique even exists. But all crafters have a weak spot in their expertise, at least at one point or another, and I'm not so easily defeated. :)

Why do I want to learn woolen spinning? Well, it's the worsted spinning polar opposite. In the villain world, it would be the Lex Luther to my Superman, Doctor Octopus to my Spiderman, or the Silver Samurai to my Wolverine (I really need to read up on my female superheroes). Worsted spinning is only half of the puzzle that is yarn making--woolen spinning makes up the other half. There are certain inherent characteristics about woolen yarns that you just can't get with a worsted spun yarn. For example, woolen yarns are spun in such a way so that yarn forms around a hollow core which is full of air. This allows the yarn to trap heat and thus be warmer than a dense, worsted yarn. Woolen yarn can also have a thicker gauge without adding weight due to its hollow nature. I'll talk more about the pros/cons of woolen v. worsted spinning in my review of the Woolen issue from PLY. For now, I will just share my first successful attempt at making an entire skein of woolen yarn.


To make a woolen yarn smoothly, you need a specific preparation of wool to make the core hollow and full of air. I grabbed my blending board back in February 2014 to make these practice rolags and get acquainted with my new fiber toy. I stashed these away, waiting for a future when I felt like tackling the woolen spinning learning curve again. After stuffing them in one place or another for months, I dragged them out and placed them on my work table as a reminder to play with them. And they sat there for about a week. After reading half of the Woolen PLY magazine, I decided to throw myself into the cold water, head first.

There was a lot of starting and stopping in the beginning, but I'm proud of myself because I resisted the urge to smash and smooth the yarn as I went. As someone who is obsessive about diameter and twist, this was tough for me. And then I made a couple of lengths that I was happy about...and then I broke the yarn. Okay, it snapped. It has been a very long while since I actually spun so much twist into a thin yarn and caused the yarn to break. To give you some context, let me briefly explain how to spin a woolen yarn. In your drafting hand, you hold the fiber lightly and you can (optionally) hold one hand near the orifice to control the amount of twist entering the lightly spun fiber/yarn. One hand pulls, the other regulates the amount of twist. This dance of the hands is what produces a helical structure within the yarn, making a hollow core and keeping it light.

But when you're still learning, you'll get thick spots and thin spots, and beginner spinners know exactly what happens when too much twist piles up in the thin spots. Snap! It feels like I need six more pairs of eyes to watch everything the yarn is doing while my hands are dancing with it. I'll grow those metaphorical pairs of eyes and be able to spin woolen yarn blindfolded one day. Sometimes learning something new fries your brain and you make the same mistakes over and over. The point is, don't give up. I can't tell you how many times I fell on my butt trying to learn how to do an axel (figure skating), or obsessed over one technique until I could bring my opponent to his knees (martial arts). You'll make a bunch of tiny mistakes, but something will eventually click and you'll be able to spin woolen yarn. Then, all of the reasons for your earlier mistakes will make sense and you'll be a better teacher in the end...at least that's my hope.

And now, the final result:


It's thick and thin and overtwisted. Even after a roughing up during the setting step didn't get this yarn to relax too much. I like it though. It reminds me of my very first skein of yarn. It might be difficult to tell from the picture, but there is a marked difference in how it looks when compared to worsted spun yarn. I'll have to do a side-by-side picture in the future to illustrate this observation.


The yarn did turn out light and fluffy in some places, but I can tell the difference between the spots that spun smoothly and the spots which caused trouble. In my future attempts, I will work on incorporating just enough spin to get it to stay together because the beauty of this yarn lies in it's softness. All of the kinks and twists detract from its texture.


When I was tying off the end of the skein, I had a little extra yarn. I plied it on itself to get an idea of how it would look plied. For all of the extra twist in this yarn, you can see how fluffy the 2-ply sample looks. It's a much rounder 2-ply than a worsted spun 2-ply would be, and it looks incredibly squishy too. This was my inspiration to drag out my blending board and some undyed wool and get to town making more rolags. :)

Tuesday, September 16, 2014

Table Runner Project

After a long time spinning, I can finally start weaving a table runner. In a previous post, I talked about how long it took me to spin all of the weft yarn for this project, which took 67 hours. Thankfully, tabby weaving goes by extremely quickly! I haven't been keeping track of how long it takes to weave, but at this point, I'm nearing the two-thirds mark.

I started the project with tiny little skeins of sample yarn I accumulated from the Phat Fiber box several years ago. I had no idea what to do with them at the time, so I just took some notes about how others dyed top, carded batts, and how they named their creations. As a side note, that step has been extremely useful for me in learning how to make my own dyed top more colorful and my batts more interesting. To make cohesive looking yarns from the samples, I grouped them by color. I spun singles, then made traditional 3-ply yarns with the three different singles. As a result, the yarns were colorful without being too garish. I even reused some yarns from other projects which happened to be the right size.


I think I had around 450 yards for the warp yarns, which were around 96 inches (2.7m) long. I used every slat in the heddle, which came to 160 ends in total. I'm still not extremely comfortable with the weaving terminology yet, since this is only my third weaving project (so forgive me if I'm saying things wrong). :) Here's the beautiful white merino weft yarn again:


After all of the weft yarn I thought I needed was done, I started warping my Harp. I'm getting faster at getting the tension just right when I walk the warp (I don't have the part I need for the other way of winding the warp), but it still took an hour and a half to do... Then I began weaving. I am happy with how the table runner is turning out so far:


The pattern of the warp just barely shows up through the white. It almost looks like plaid! Below is a close up of the warp poking through the fabric.


When you're weaving, you need to create some slack in the weft before you beat it into place, and you do that by placing the yarn at an angle. I'm still practicing this step, since it's the one where I forget to be consistent. I tend to shoot for at least thirty degrees, but it sometimes gets as high as forty-five degrees. It impacts the width of the garment, and if it's constantly changing, the edges will be all wiggly. Oh well. That's a beginner for you. :)

Here is a closeup of the warp threads under tension. They're a little crazy.


The overall fabric will be subdued by comparison, which is what I hoped would happen. I'm very excited about colorful things, but there is such a thing as color clashing in the fiber world. The white of the undyed merino really brings this piece together, and the bits of contrasting colors in the warp give it an unexpected patterned look to it. Though the yarns are mostly smooth, some spots have a little slub or bump which pokes through the weft, giving it a rustic, organic look. If you look at the fabric at just the right angle to the sun, you can see the little sparkle of angelina.


Originally I thought this would be a table runner, and it still might be a table runner in the end. Our kneeling table has a giant crack going down the middle of it, and I thought this project would be a great way to cover it up (and to keep it from eating crumbs and earphone cords). But this yarn is so soft, I kind of want the table runner to moonlight as a shawl from time to time. Hmm...we'll see. I'll definitely post pictures when it's off the loom and ready to be used!

P.S. Here is the video I posted recently where I talk a little more about the yarn and the project:

Tuesday, September 9, 2014

Almost Tutorial: Unplying Plied Yarn

Sometimes when I have an idea for a new how-to or tutorial, I just go ahead and take pictures of the process. It allows me to capture that moment in the process where I'm right in the middle of learning/figuring out what I'm doing. In the best case, it means that I don't have to do the tutorial photos for the second iteration of the project and instead I can focus on working out any snags and streamline the process. Occasionally, I need to play around a little longer to understand what I'm doing and digest the information so I can deliver a cogent tutorial for ya'll. Well, as simple as unplying yarn sounds, everything refused to cooperate.


I started off by choosing the yarn I didn't like as a plied yarn. It's not really that bad, but I had been staring at it for more than two years, and I still didn't feel inspired to do anything with it. There was a hundred possible reuses for this yarn, but I decided to try something new. I mean, it was already 'trash' in my mind, so I couldn't actually ruin it, right? It's amazing how that line of reasoning can be so liberating! Let the deconstructing begin:


I've become a smarter person over the years, which is one of the fabulous perks of getting older. I spent a few days thinking and imagining how I would deconstruct this yarn, and this was my first solution: use wheel bobbins! And then I remember that I'm only thirty and not as smart of some of you who are older than me. Wheel bobbins turned out to not be the best tool for this project. In fact, they were probably the worst tools I could use.

I thought they would make sense as the perfect tool for winding yarn because that's what they're designed to do...hold yarn as you spin it. Here's the moment I captured when I was feeling smug about this working out like I imagined:


Wah wah wahhhhh.... This was a case of things sounding better in my head rather than in reality. As a rule, there is always an easiest way to do something. Most of the time, we end up choosing an easier way of doing something, and move on with our lives, never thinking of the easiest way of doing that same thing. It's only when we realize that there must be 'an easier solution' that we begin looking for the easiest way of doing that thing. Well, I was about halfway through the unplying stage of this project when this thought kept rushing to the front of my mind every two seconds. Clearly, the bobbin method was seriously flawed. I had to manage the two, awkwardly dangling bobbins, and make sure the yarn didn't untwist too much in the non semi-felted places and fall to the ground. It was a slow and stressful process. So, I put it on the to-do table for about a week.

As much as I would love to tell you that I found the easiest way of unplying yarn, I can't. After I mulled over my problems, I'm fairly confident that I came across one of the easier ways of unplying this yarn, though not the easiest. I'm still not even sure an easiest solution exists without a specific 'un'plying machine. That said, the easier solution I discovered is elegant in its simplicity, even if it will take longer than the hypothetical easiest solution. Bobbins weren't the right yarn holding tool, but drop spindles are. Their specific design is well suited to dangling, and large spindles exist for packing on loads of yarn. Duh. I'm not sure why drop spindles weren't my first solution to this problem and why it took a problem with the bobbins to force me to think of another way of doing this project. At any rate, this will be a little nugget to tuck in the back of my memory for future such occasions.


Since I was already half started with the bobbin method, I just began unplying at the opposite end with the spindles. It was a balancing challenge, but the spindle method turned out to be more than twice as fast as the bobbin method. In the end, the yarn was unplied and extremely soft. I have since skeined and washed the yarn, and now comes the hard part: figuring out what color to dye it and what I'll use it for. I'll refine my technique a little more, then I'll post the tutorial for unplying yarn in the future. Hurray for making mistakes and feeling a little dumb, yet smarter, in the end!

Tuesday, September 2, 2014

How Many Hours Does it Take...

...to spin enough weft yarn for a wide table runner (or shawl)? I bought the beautiful Orry merino fleece two years ago, and I've been trying to think of larger projects to use it for. Spinning it for a long table runner seemed like a fantastic idea, and would incorporate the random colored bits of handspun I have been accumulating since the Winter Olympics. So, I launched a challenge on Facebook to keep track of the number of hours it took for me to spin and ply this fiber.


The goal of the challenge was two-fold. First, I wanted to encourage everyone else to pick up the challenge to see how long it took them to spin a specific gauged yarn. Sometimes the time it takes surprises you, and sometimes you can pat yourself on the back for how far you've come, which leads to the second point.


Let's say that you're planning 15 projects this year for Christmas, and you're going to make all of the yarn for the quick holiday knits. How long will it take you, on average, to spin 200 yards of worsted weight yarn for 15 pairs of mittens? Knowing what your spinning pace is will help you determine how long a project will take from start to finish. This step becomes more salient if you're making yarn for a customer as a special order, or so you can get 15 skeins of spooky Halloween yarn in the shop before November starts.


Here are the details regarding my challenge. I carded up 12 batts of merino mixed with small amounts of angelina, tussah silk, and firestar. Each batt weighed about 30g, since this stuff is extremely fluffy (my normal batt size on the Kitten Carder is usually about 50-55g). I went for a well blended look, so the batts went through the carder twice each to incorporate the add-ins more fully.


Most of the yarns I had for the warp were in the fingering to sport weight 3-ply range, but a few were slightly thinner. Since the warp yarns were extremely colorful and the weft yarn was going to be plain white, I wanted to make sure that some of the color of the warp came through on the finished fabric. Since the other yarns were 3-ply, the weft yarn would be too. Coupled with Orry's incredible loft, that meant spinning all of my singles at around 44 WPI. That is the thinnest yarn I've ever spun.


It took 67 hours to spin 6-ish ounces of merino (6 of the 12 batts) and ply them into 3-ply yarns. I chose the Navajo method of making a 3-ply (chaining one length of yarn into a 3-ply by way of making crochet loops and spinning them closed) since the crimp of the merino would help hide the cross-over intersections. I did a quick calculation with a weaving calculator to determine how much yarn I would need for the weft given the parameters of my set-up and desired length and width. I would need about 900 yards. It sounds like a lot, and I suppose it is, but you can pack on lots of yards per bobbin before you start plying it. :)


I had about 970 yards of this yarn all plied, washed, and ready to go. (If I had done the weft calculation before I started carding up my batts, I probably wouldn't have needed to process 12 batts.) At my pace, it takes me one hour to spin and ply about 14 yards of 3-ply yarn. I feel like I should spin faster than that, but I can't argue with the results. I thought about making another Gray Lady Cloak with Orry, and with the pattern needing 700 yards of the same size yarn, it'll take me about 50 hours to make enough yarn. Yowzers.

One other thing I worked on during this challenge was learning how to tie off a skein without using separate figure eight ties. This is the type of tie-off that professional spinners do who enter into skein competitions and win first place. The figure eight ties can be distracting for a judge, but you need some way to keep the skein from becoming a tangled mess once it's off the niddy noddy. Before tying the ends together and getting up to grab some yarn scraps for ties, unwind about 2-3 yards and use that for making the ties. By the time you've made figure eights in four places, you're right back to the starting piece of yarn and you can easily tie the two ends together. The result looks very neat and tidy.


I'll probably do a tutorial video on how to do this type of tie because it's ridiculously easy to do, looks great, and you're not always hoarding small bits of yarn for future skein ties. Well, I'll still hoard bits of yarn, but I won't need them for tying skeins anymore. :) So, how did you do with your challenge?